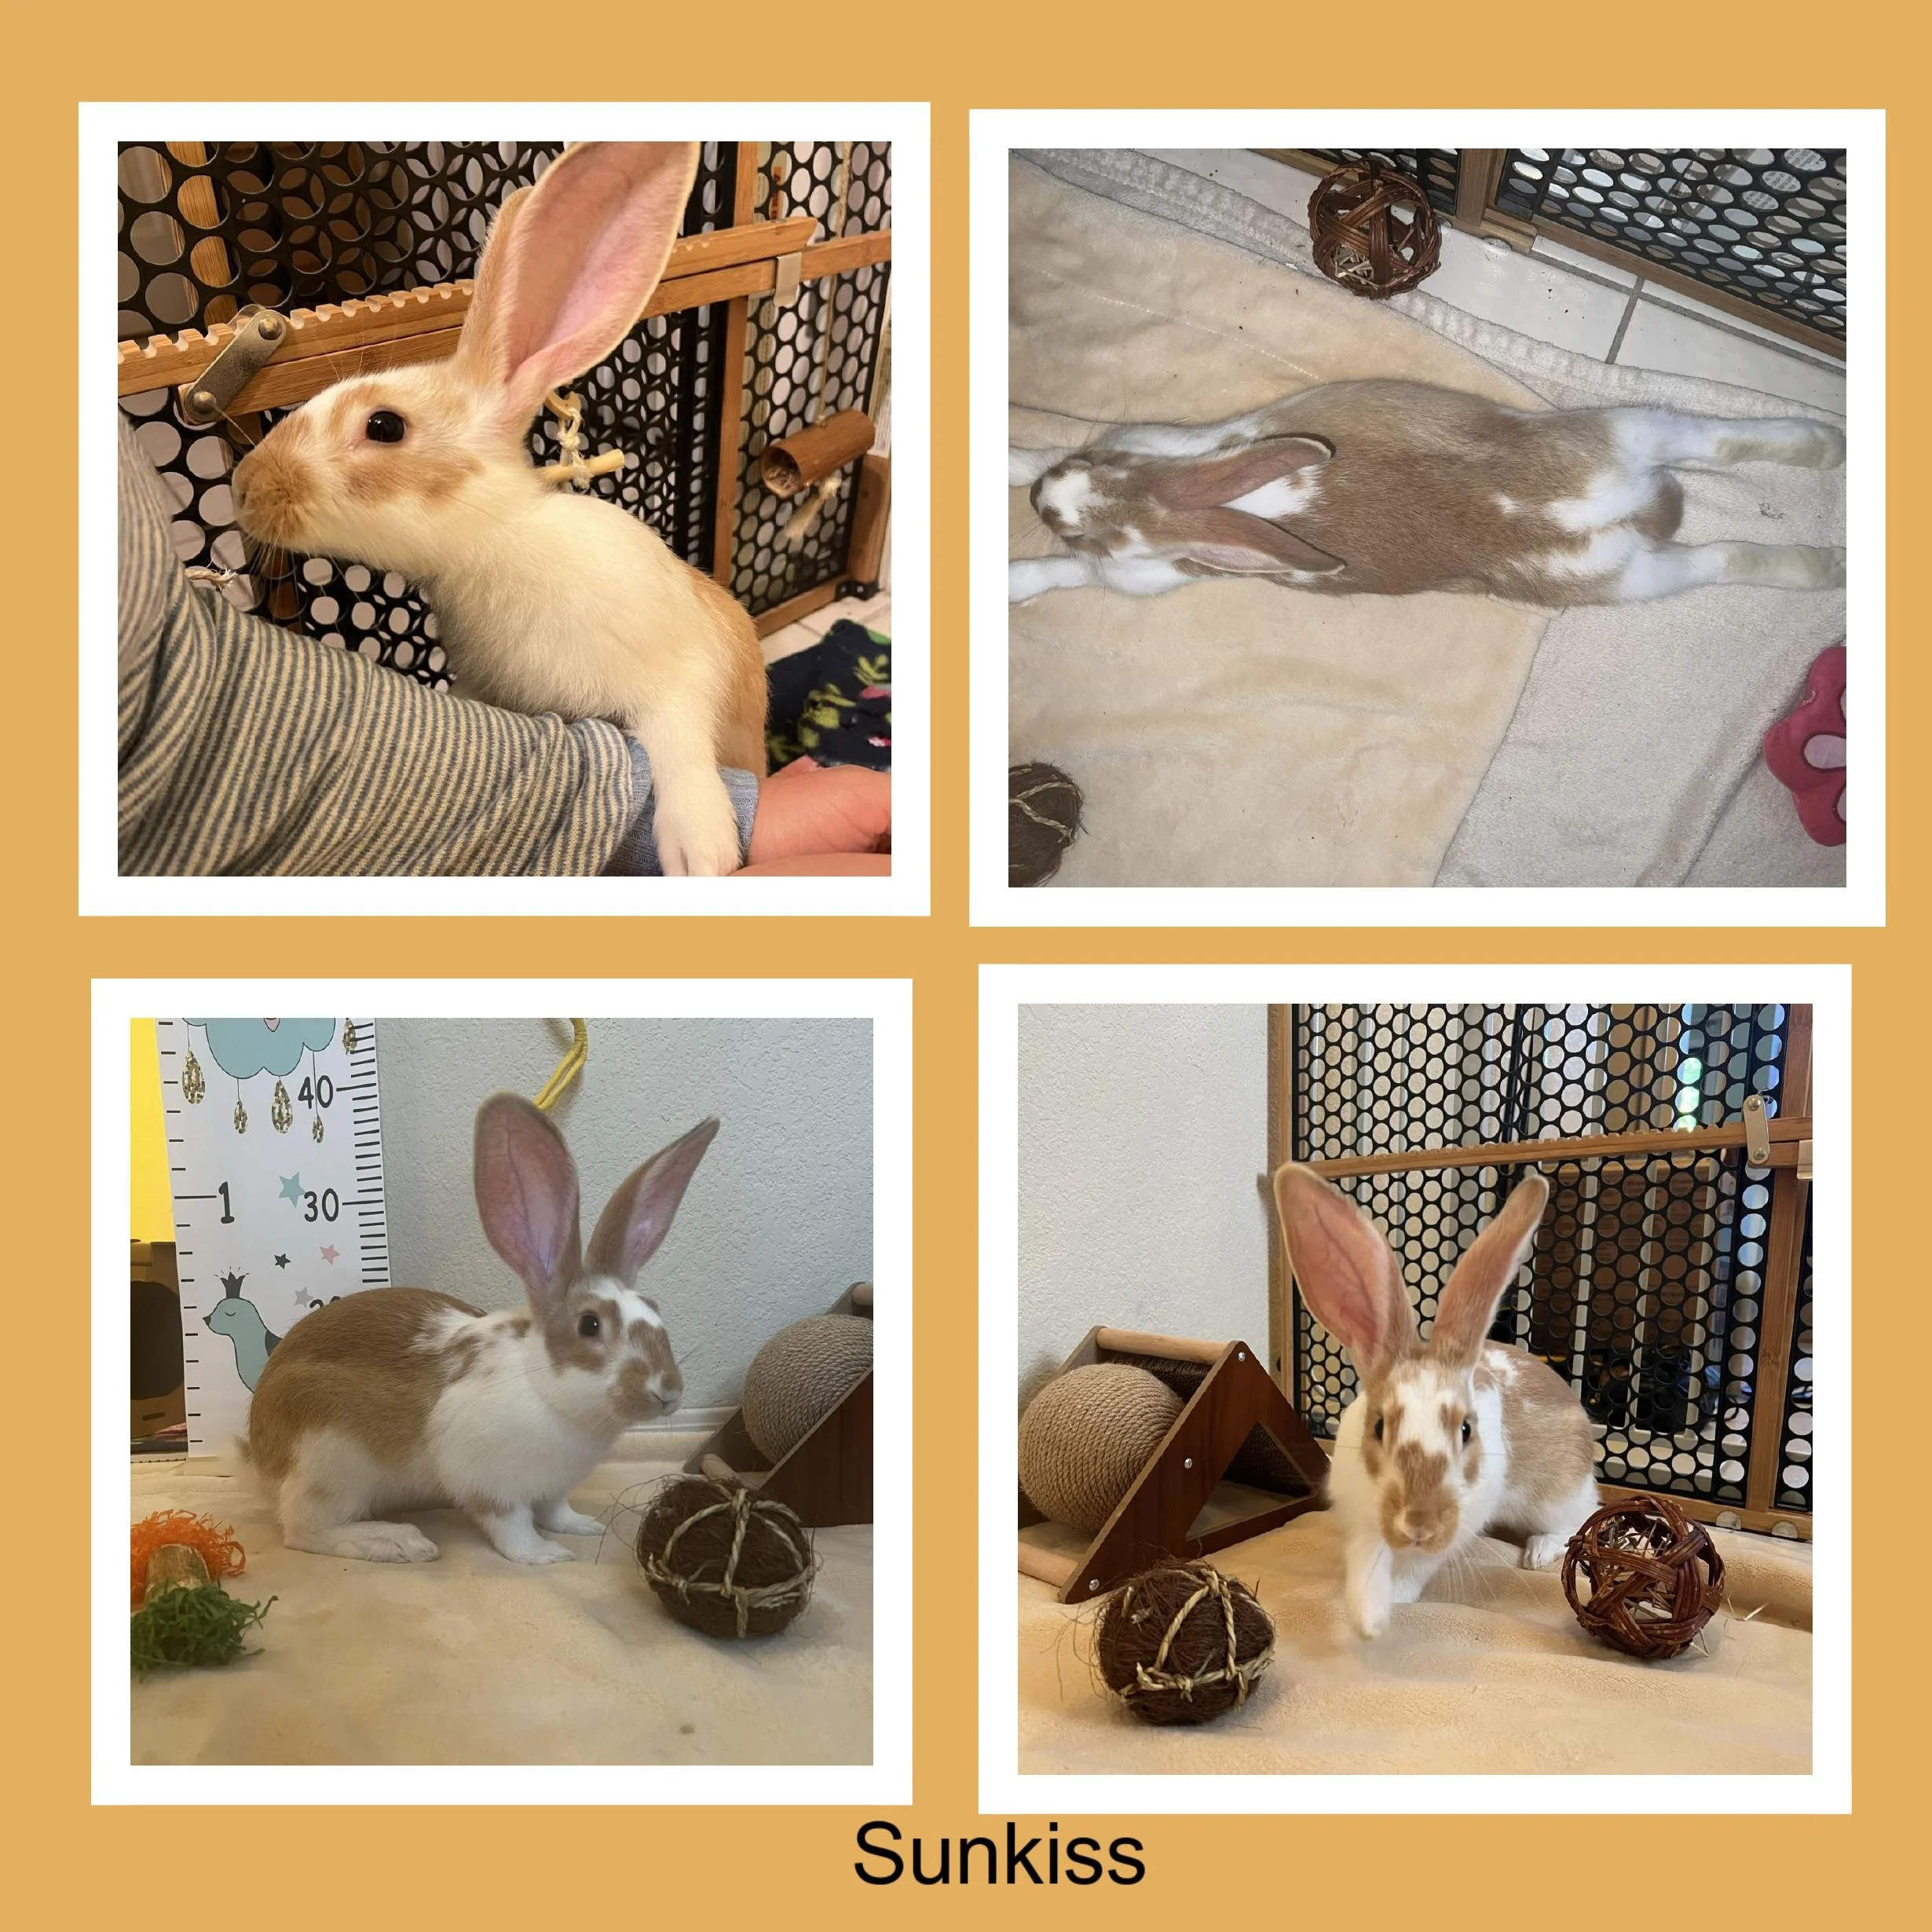
Orphan Kit Care Guide
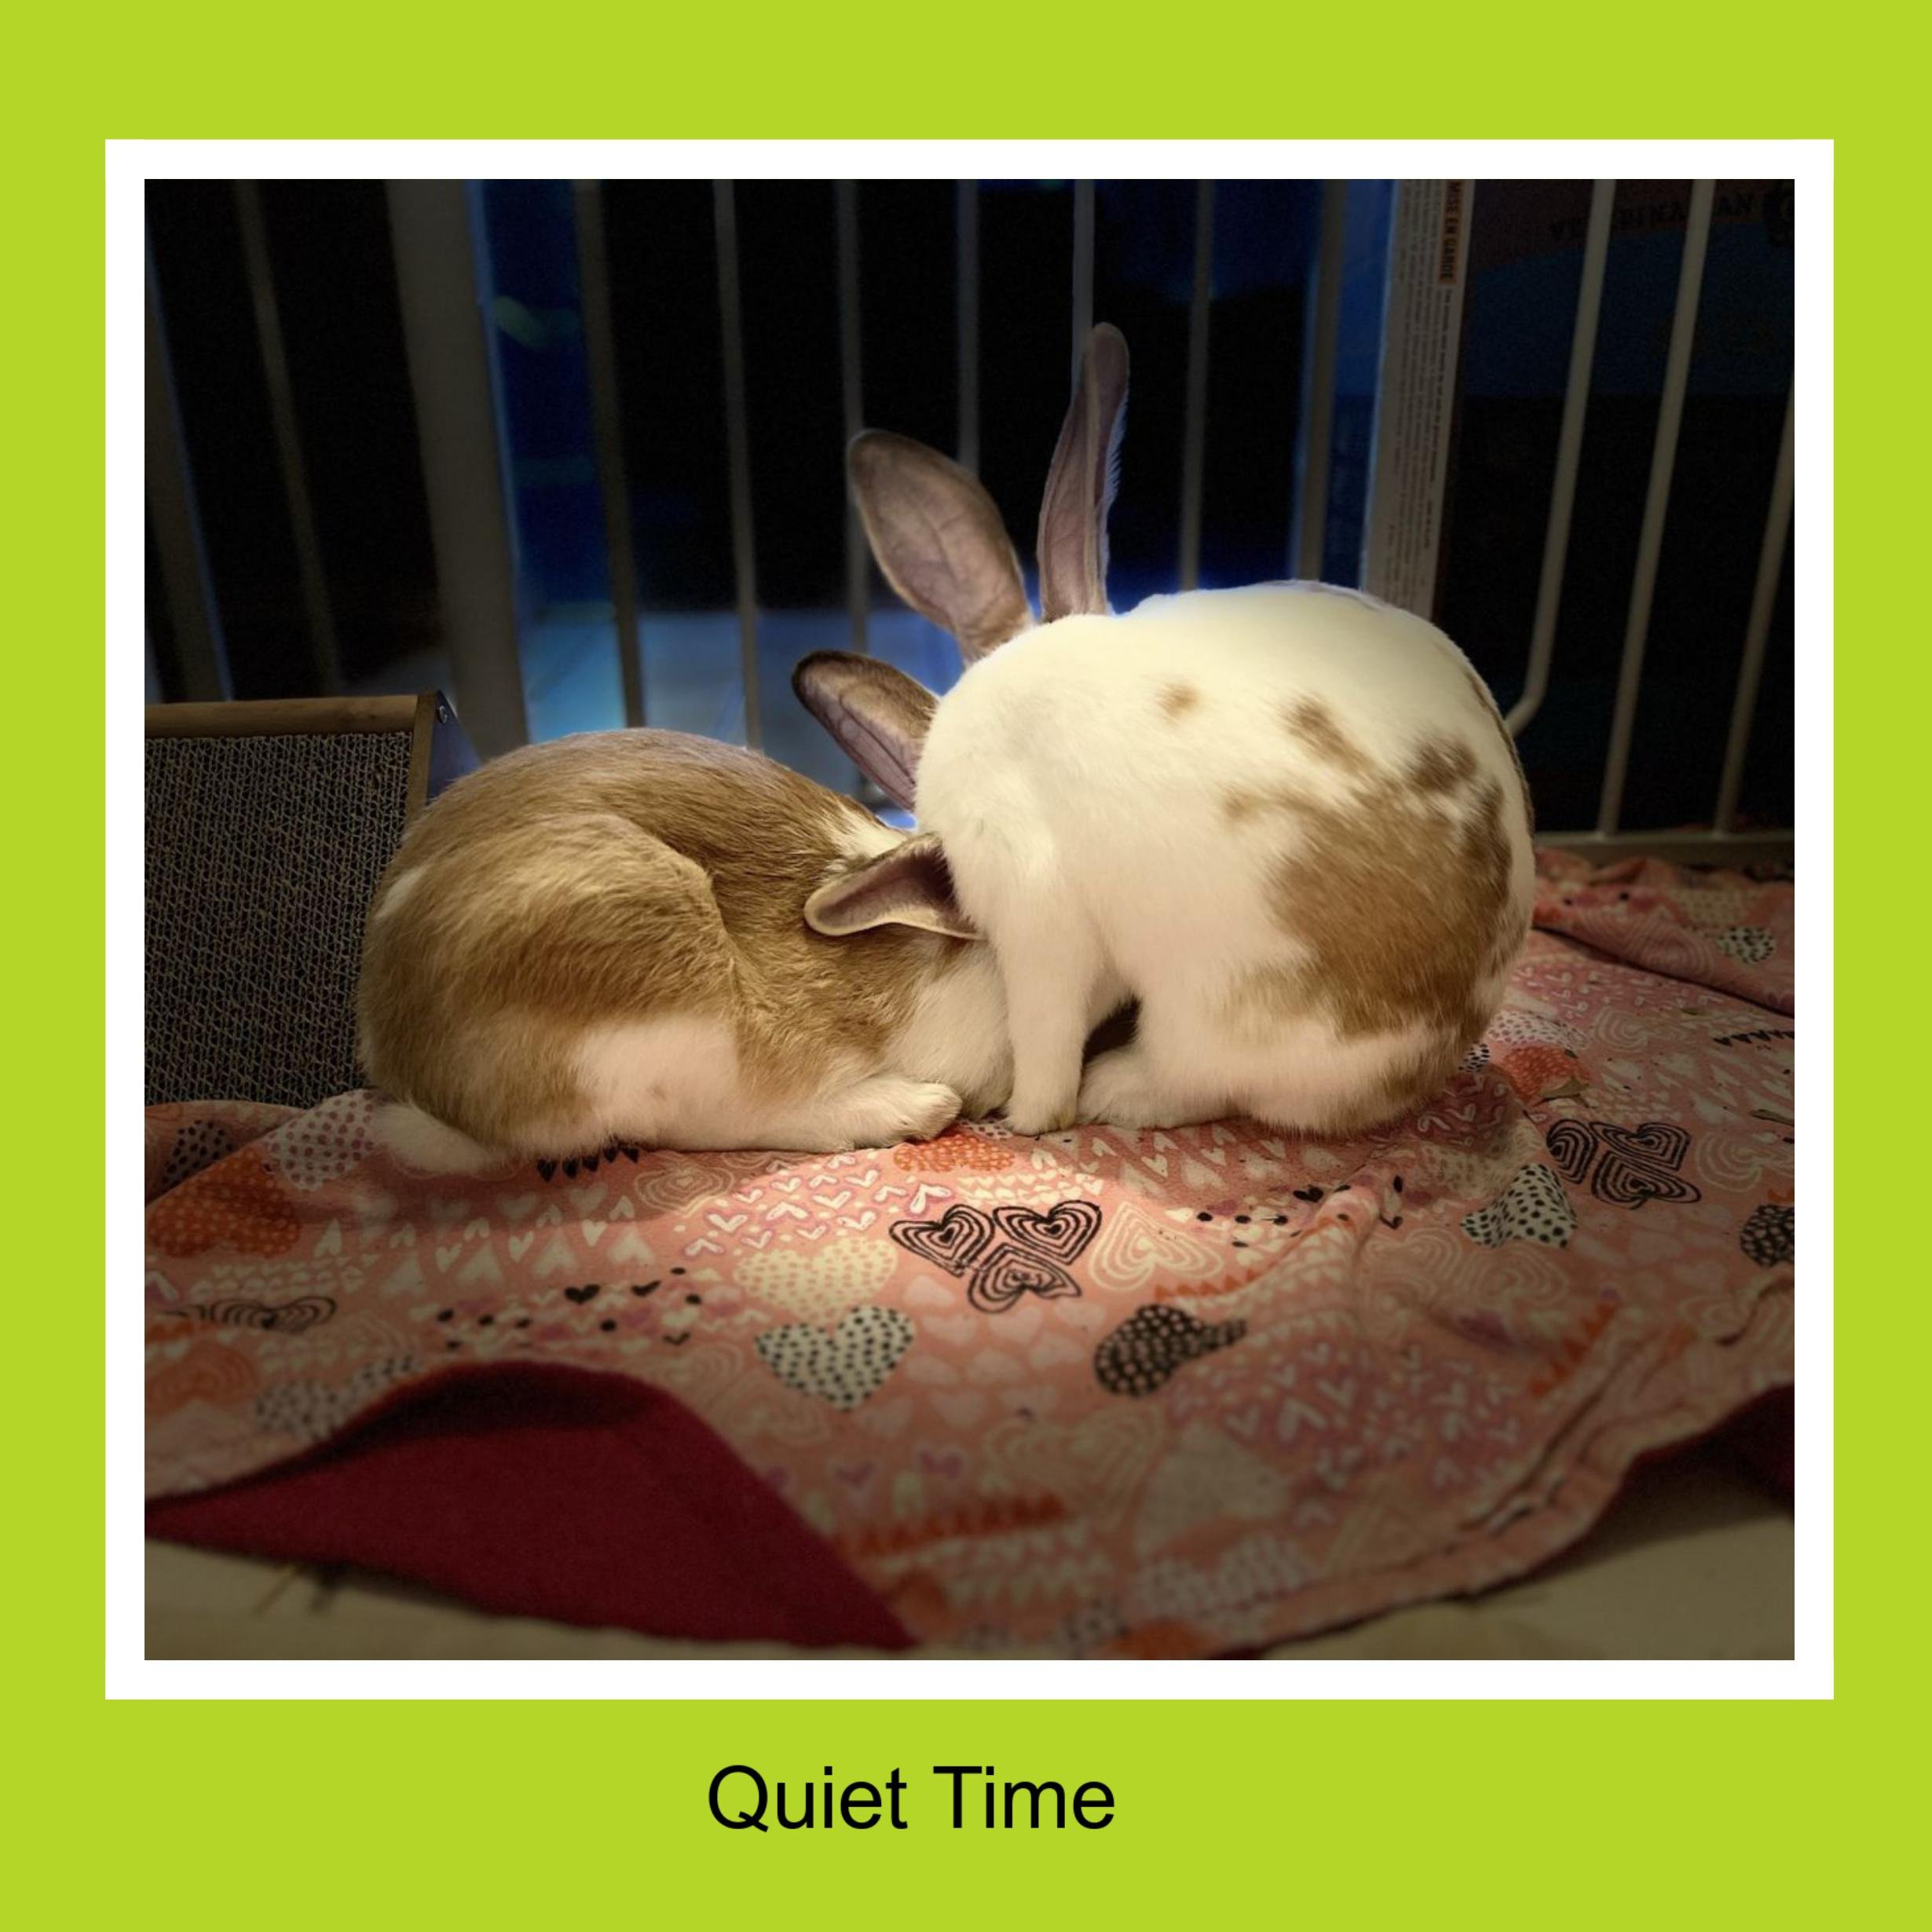
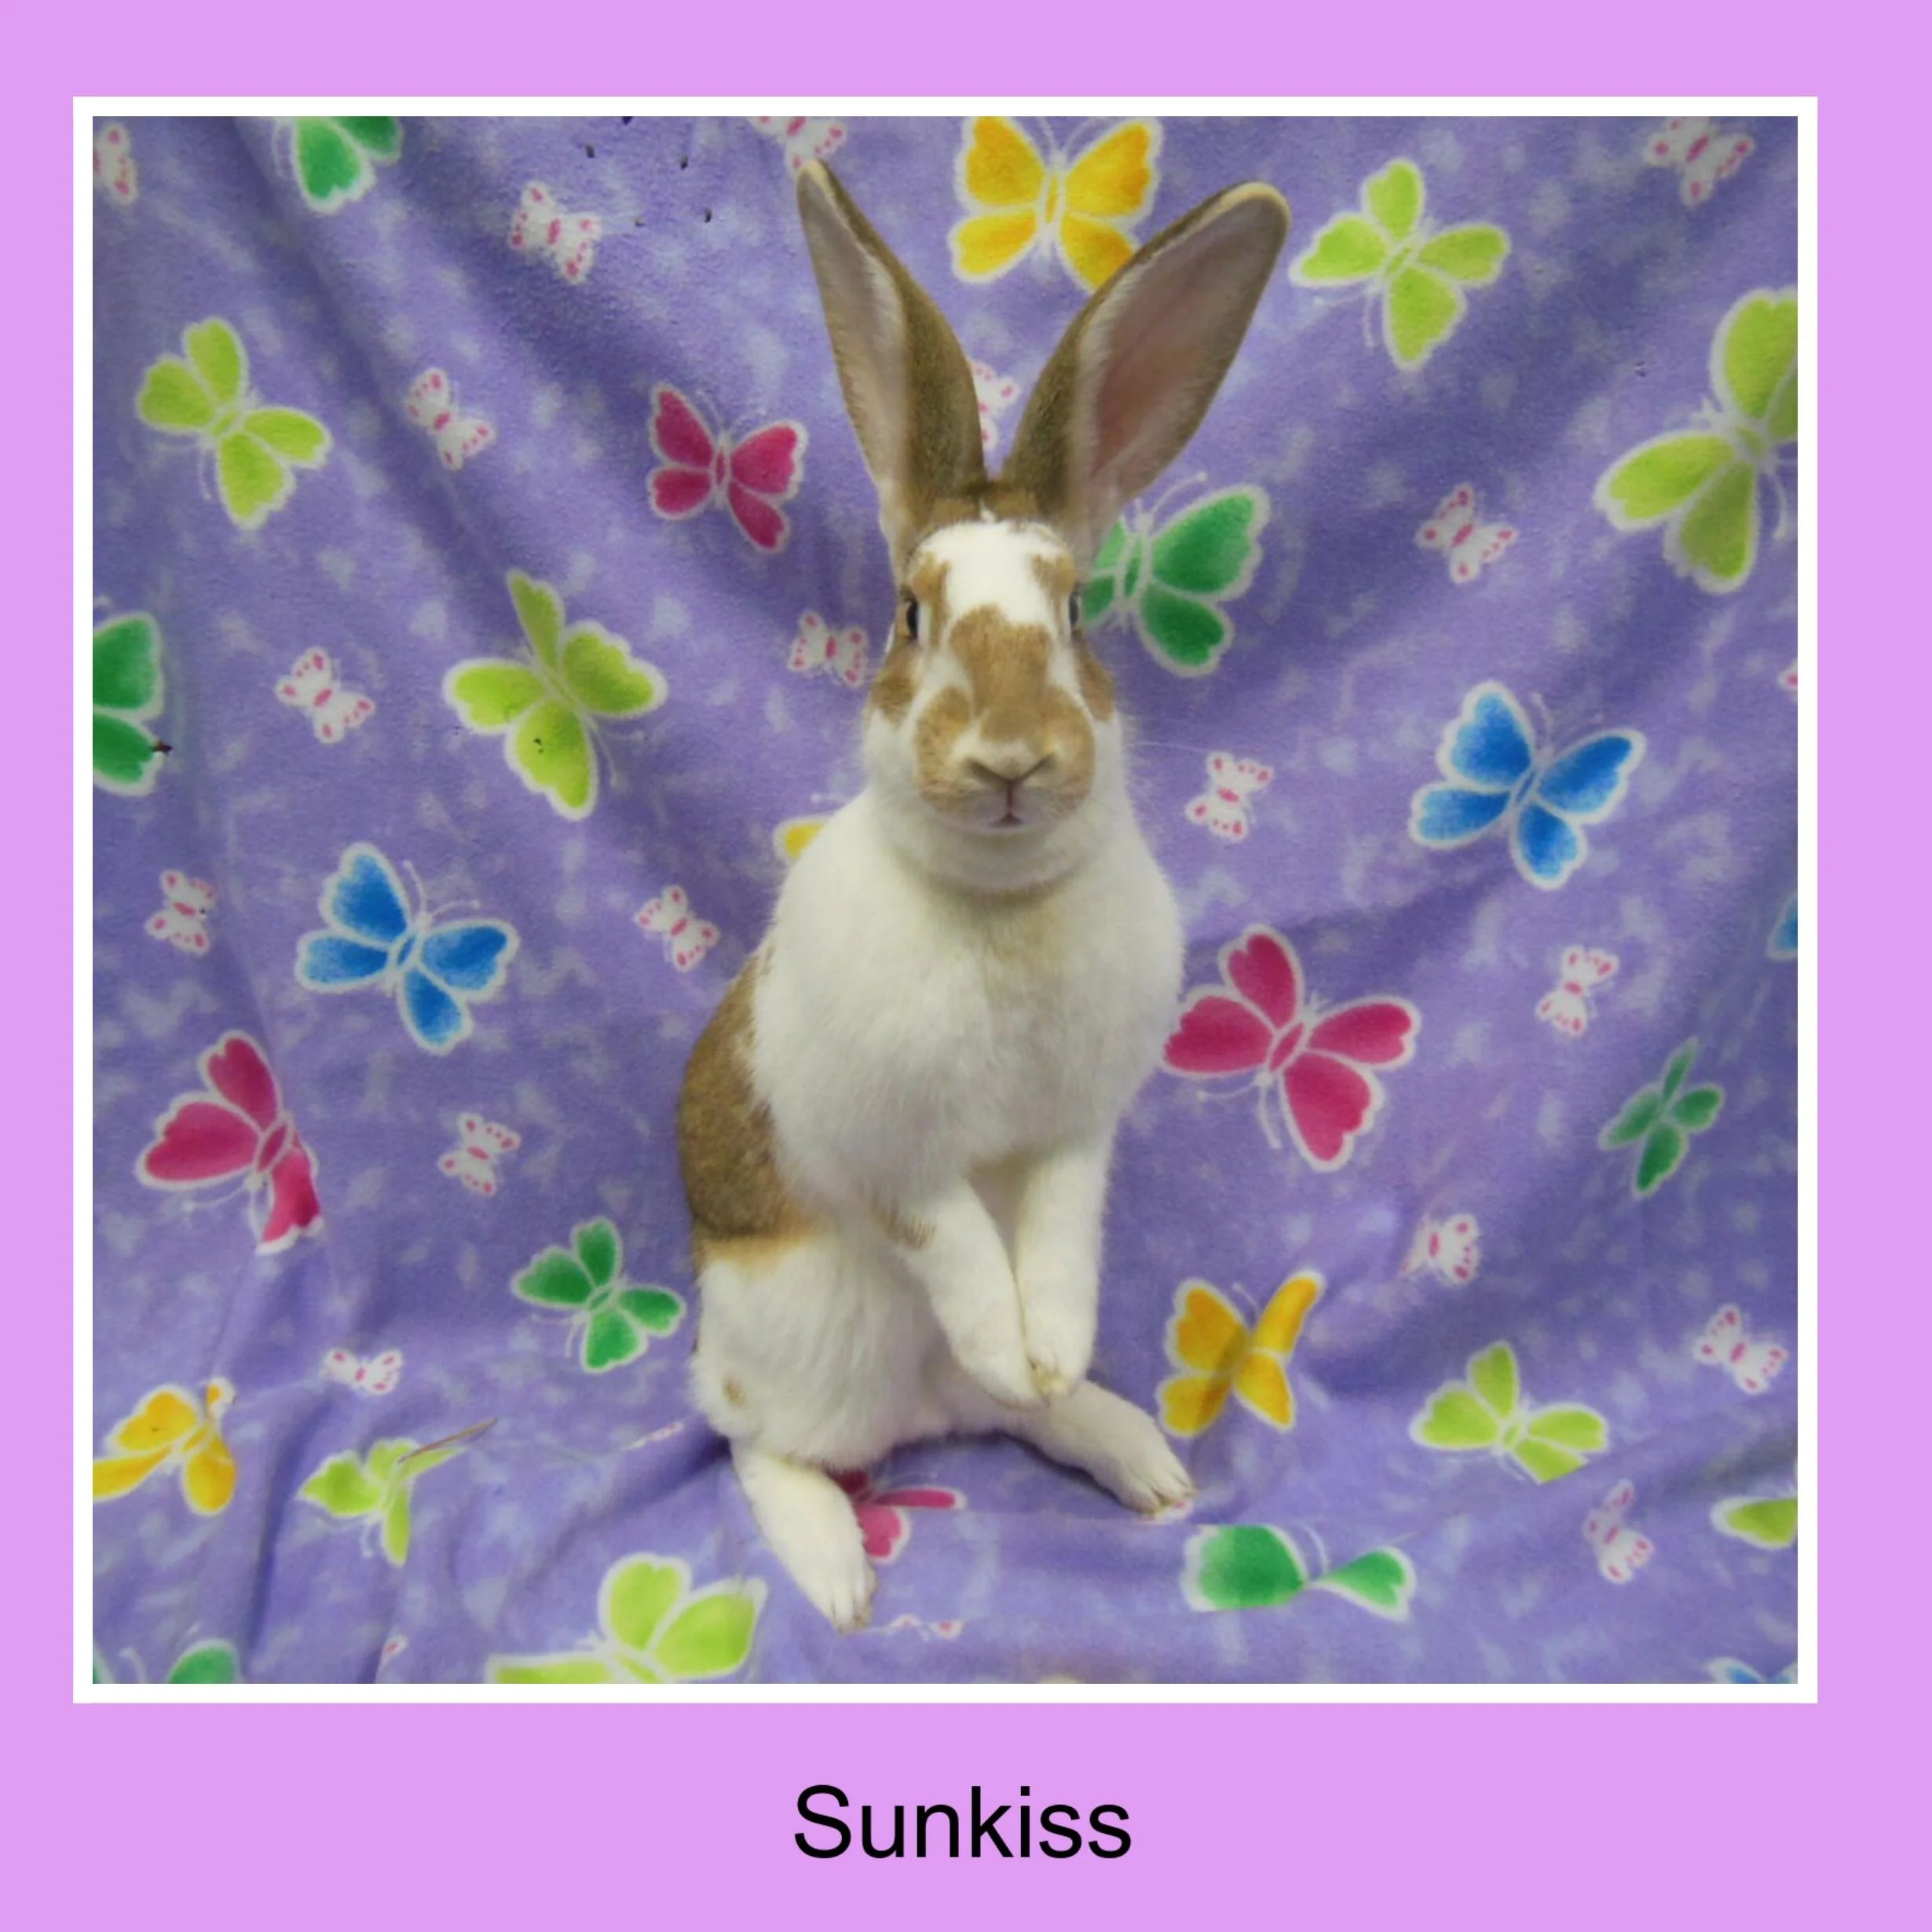
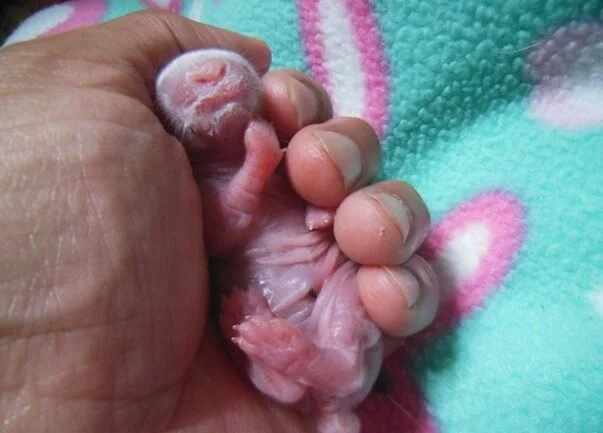
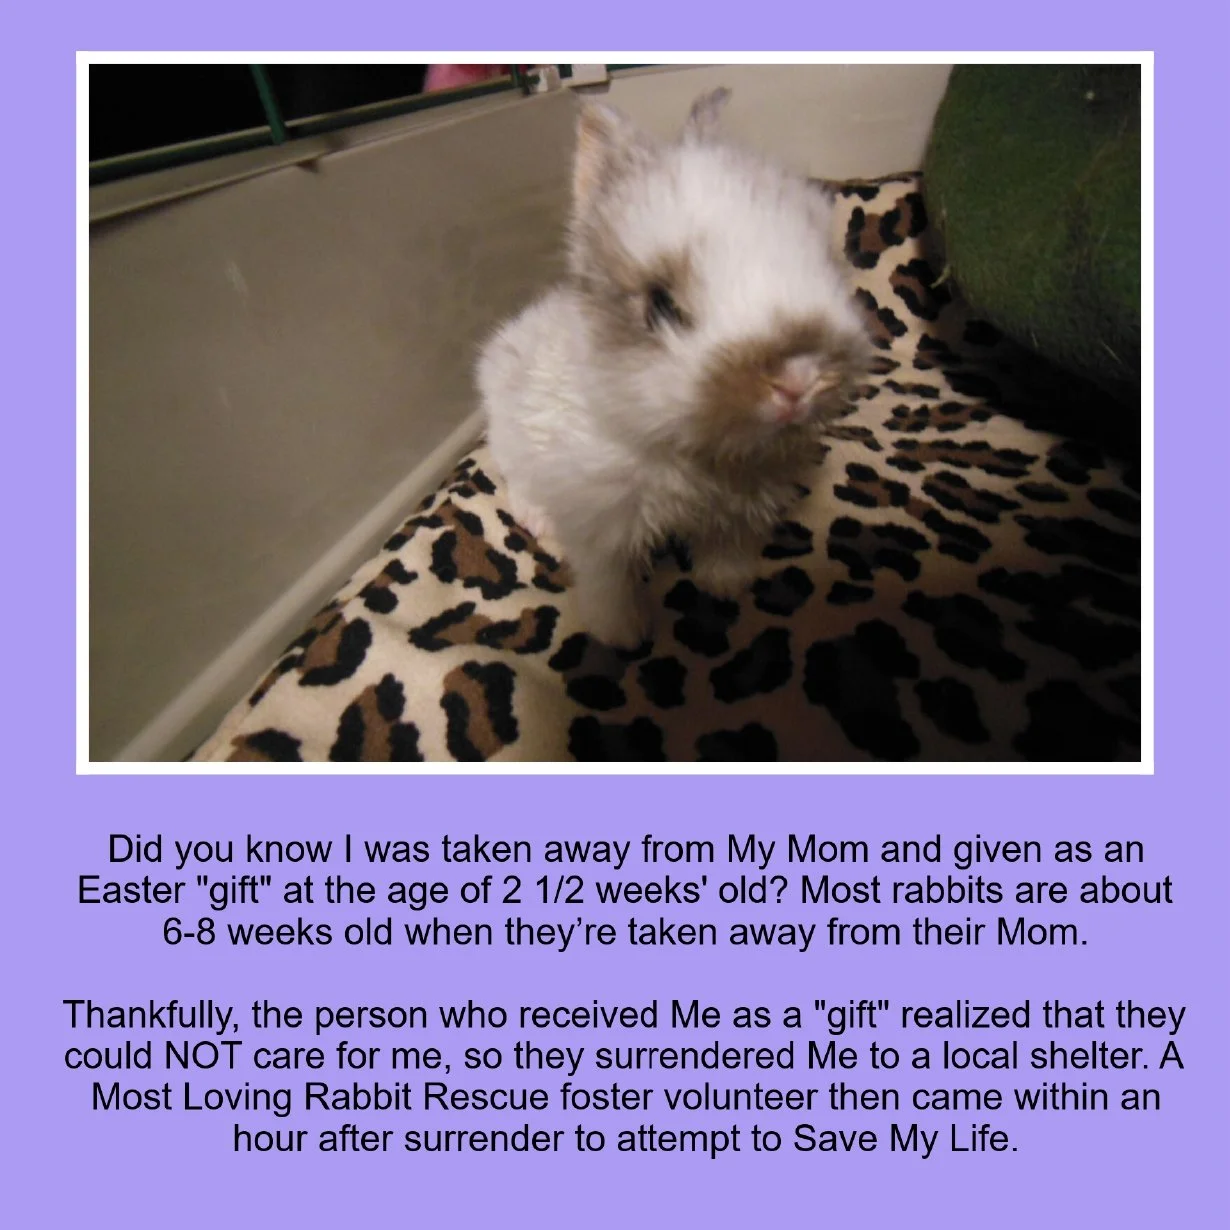
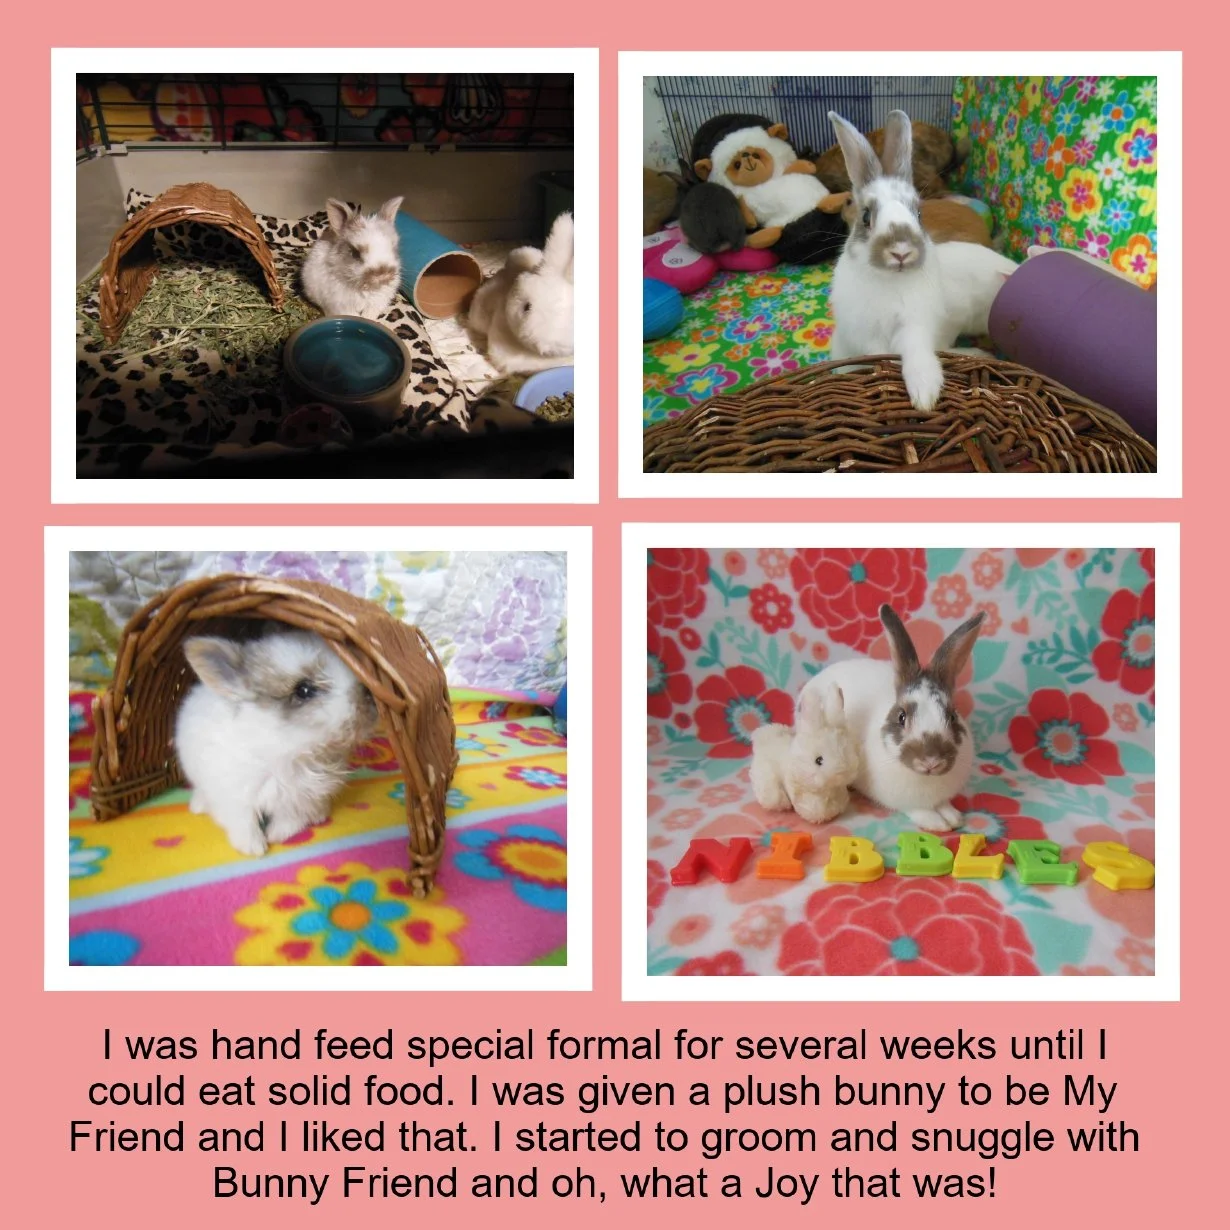
Nibbles was a 2.5 week old “Easter Bunny Orphan”. She was later adopted. We dedicate this page to her for teaching us so much about Baby Orphan Kit Care.
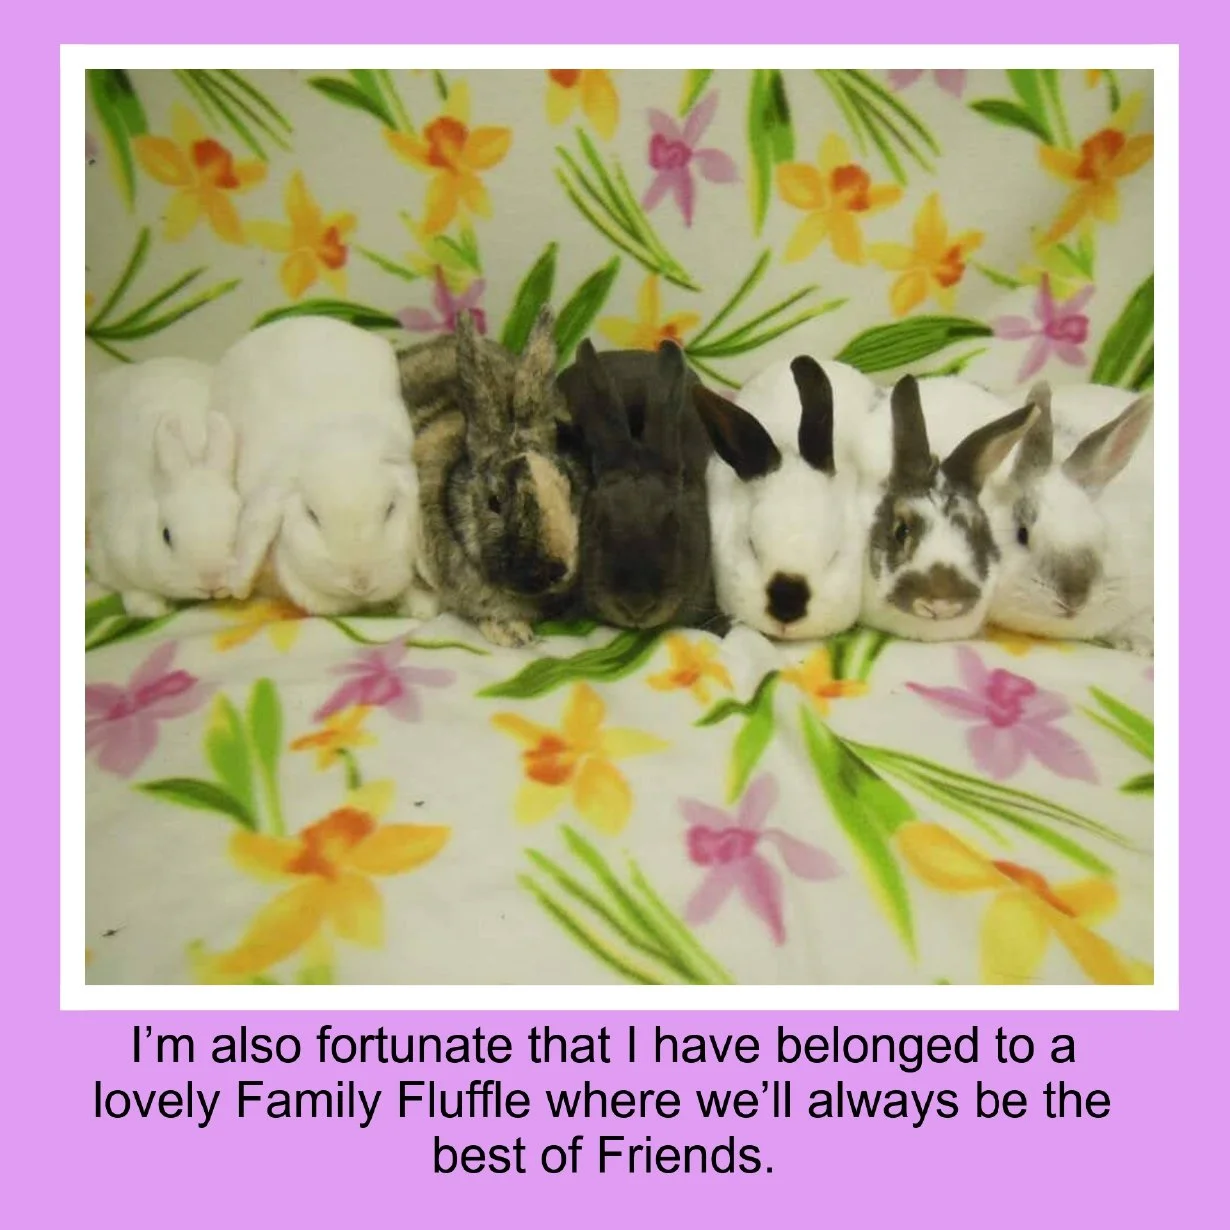
Guide to Caring for Orphan Rabbits
Introduction
This guide will help you care for orphaned rabbits. It emphasizes the importance of contacting a Rabbit Rescue Group, a veterinarian (DVM), or a shelter. Remember, this guide is not a substitute for a surrogate nursing mother. The content is divided into three sections: Kits with Eyes Closed, Kits with Eyes Open, and Older Kits.
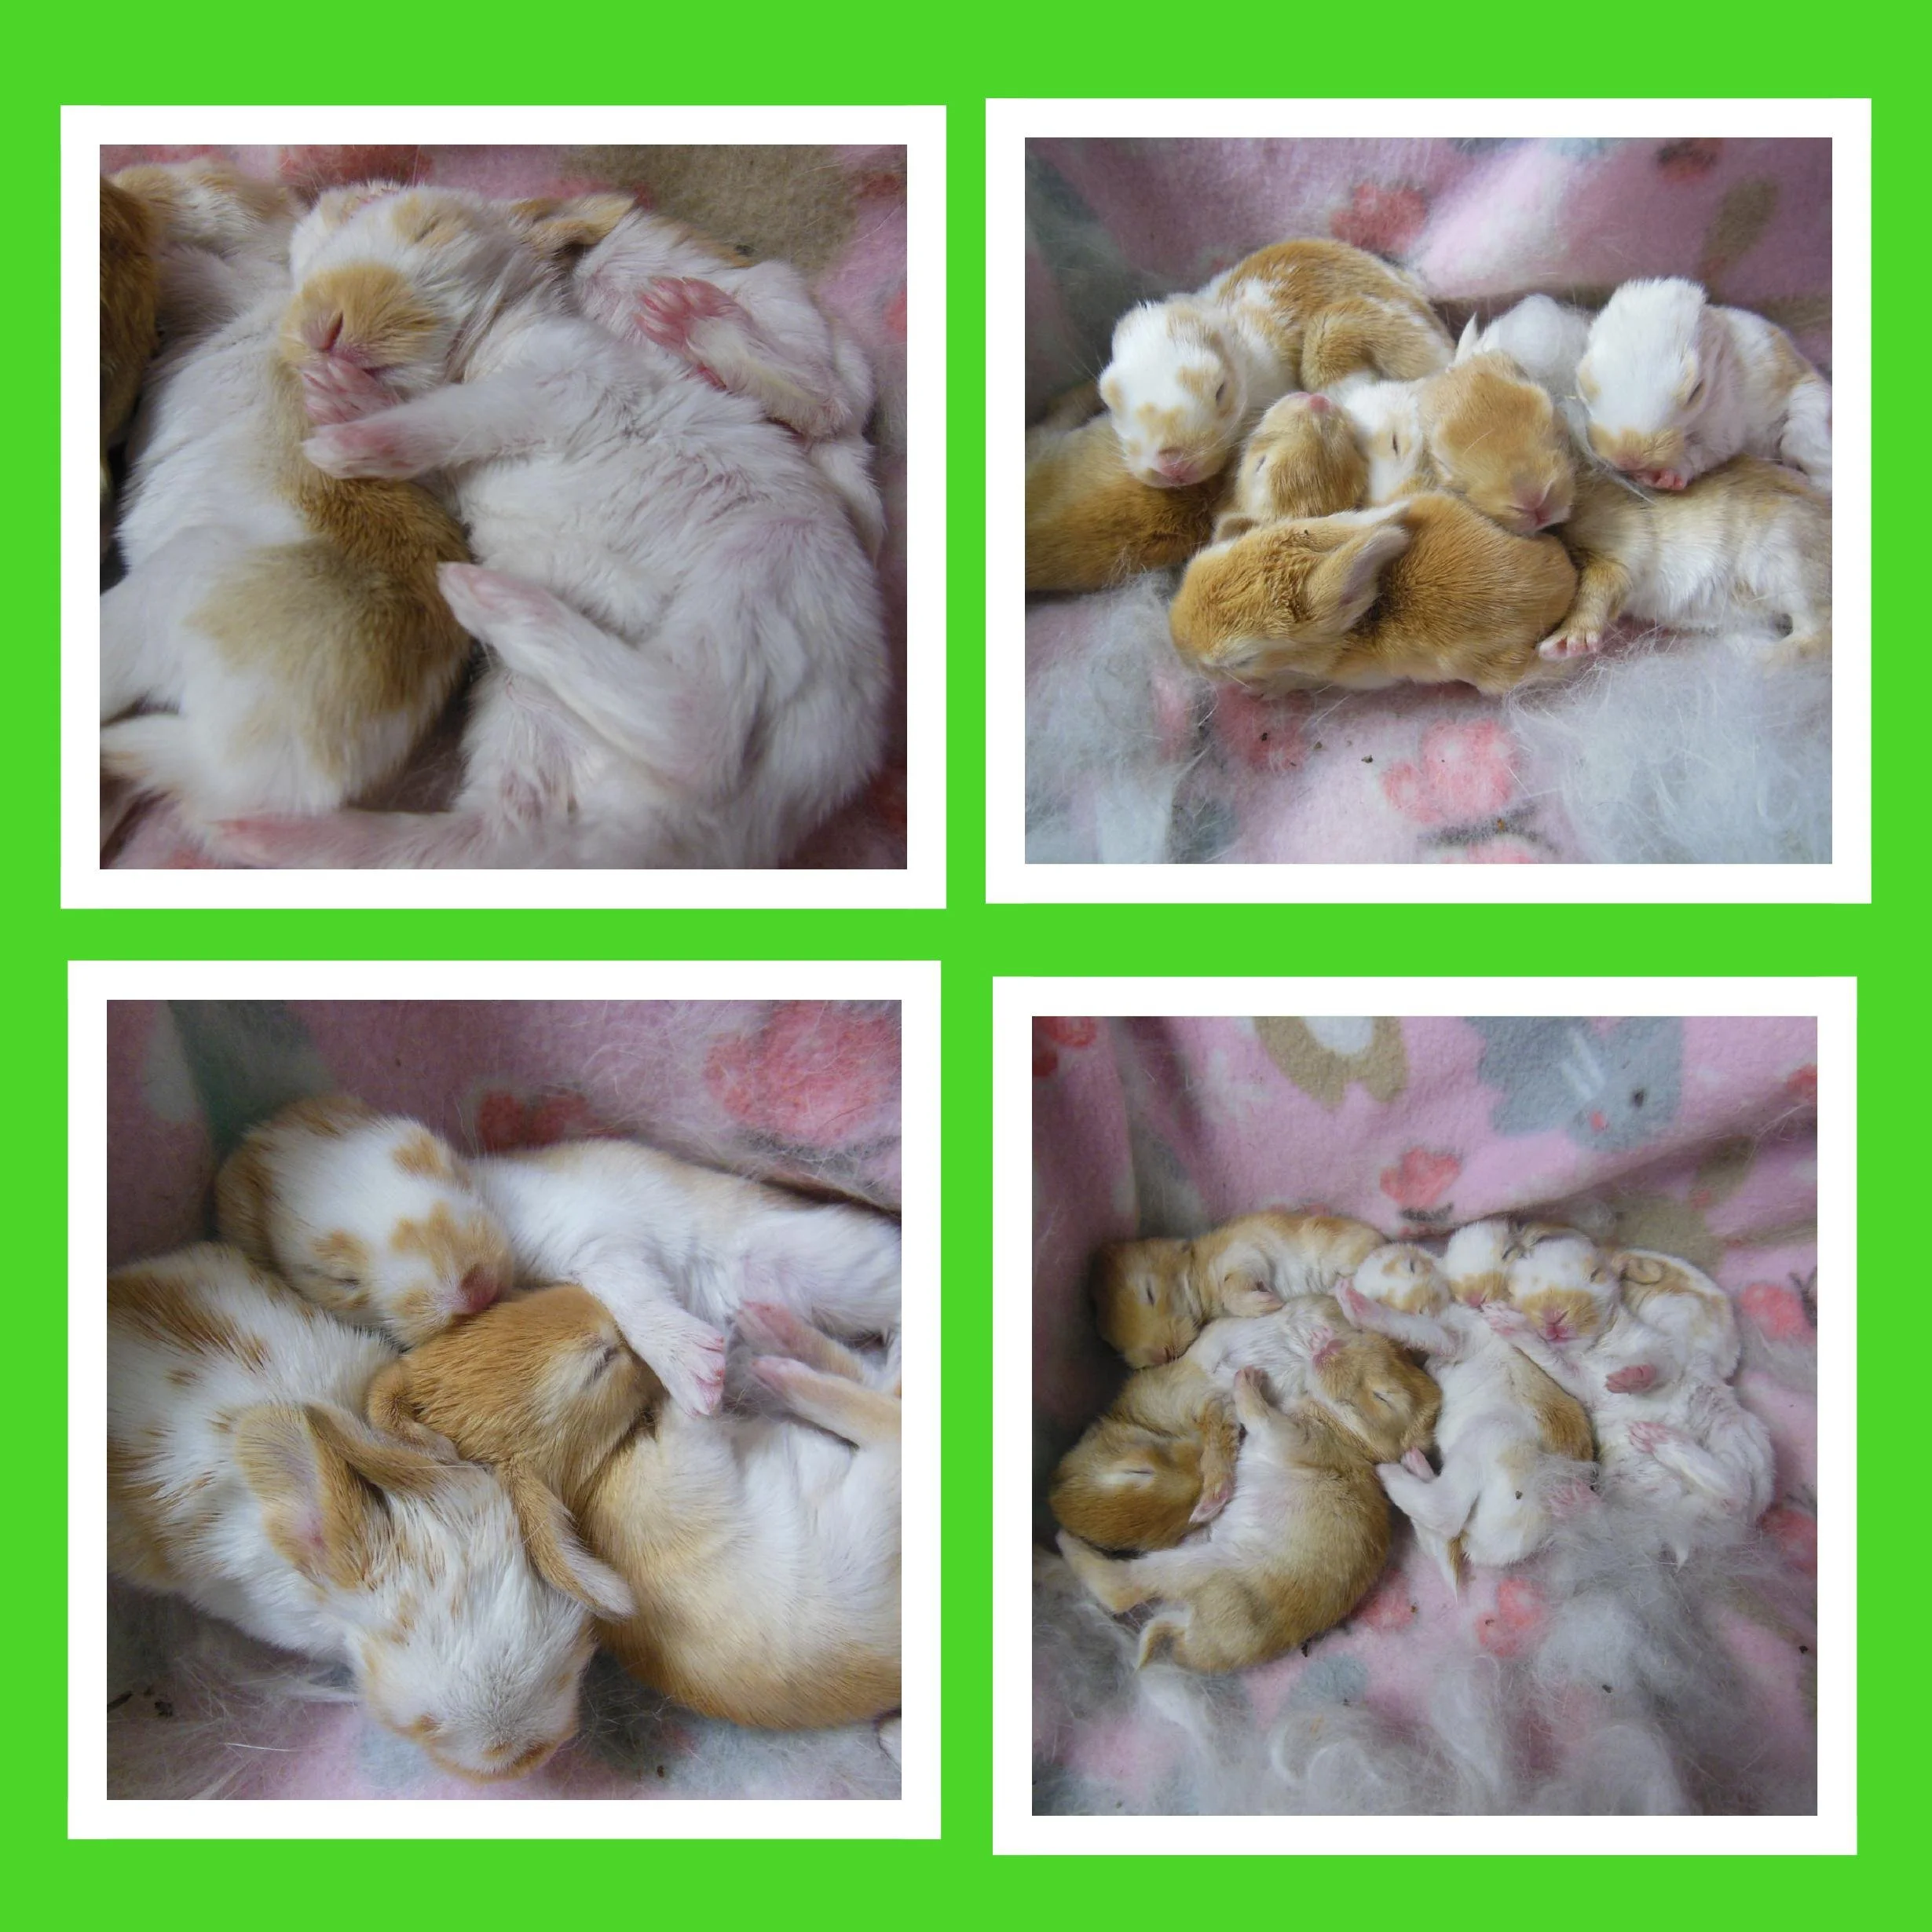
Part 1: Kits with Eyes Closed
Kits are born with their eyes closed and need immediate care, especially in the first three days.
Body Heat
Importance: Keeping kits warm is essential. Minimize handling to prevent heat loss.
Ideal Temperature: Adult rabbits have a body temperature between 101°F and 103°F.
Step 1: Weighing the Kit
Tools Needed: Use a gram scale or place a soft cloth on the scale.
Daily Monitoring: Weigh the kit each day. A healthy kit should gain about 10-20% of its body weight daily. Establish a baseline within the first few days.
Visual Records: Take pictures from the top and side to track progress.
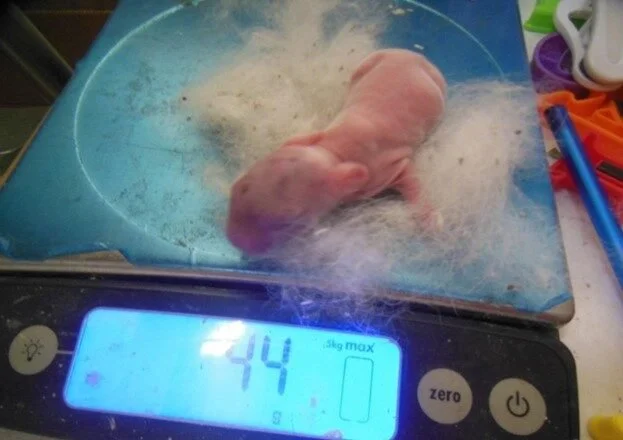
You should not see the kit is losing weight. Once the stomach or skin starts to sink in or their skin folds it is a 911. You may have a day to turn things around.
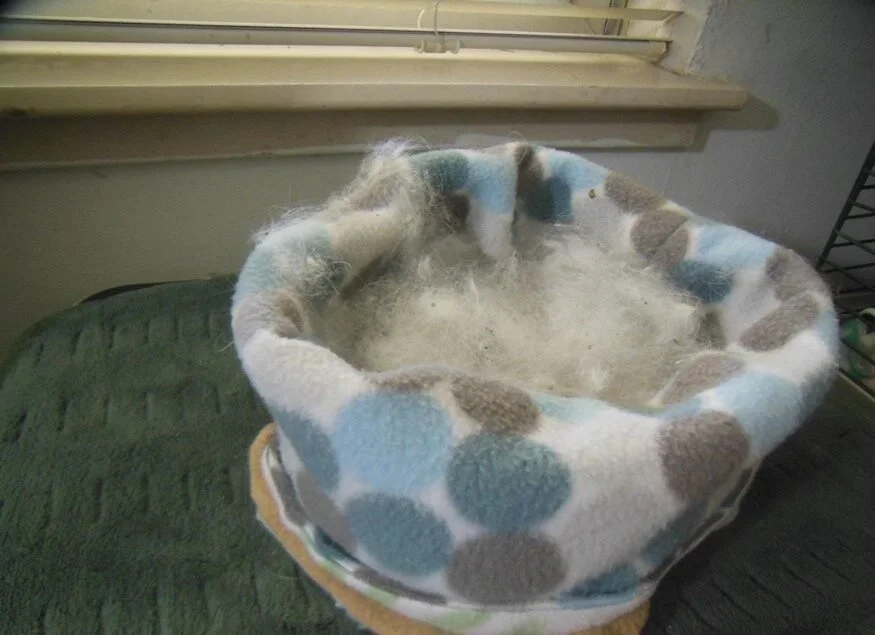
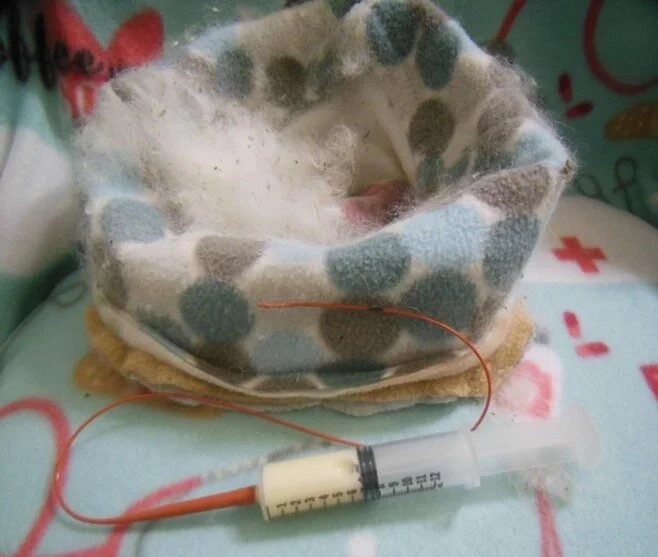
Step 2: Creating a Nesting Environment
Nesting Box: Use a small cardboard box, hat, or plastic container based on the size of the kit.
Bedding:
Line the bottom with soft material (like fleece).
Add rabbit fur on top if available
Include a small layer of hay for comfort.
Heating Setup: Place the nesting box on a heating pad set to low to keep it warm and elevated from cold air.
Placement: Put the kit in the center of the box, covering it lightly with fur or soft material for airflow.
Step 3: Feeding the Kits
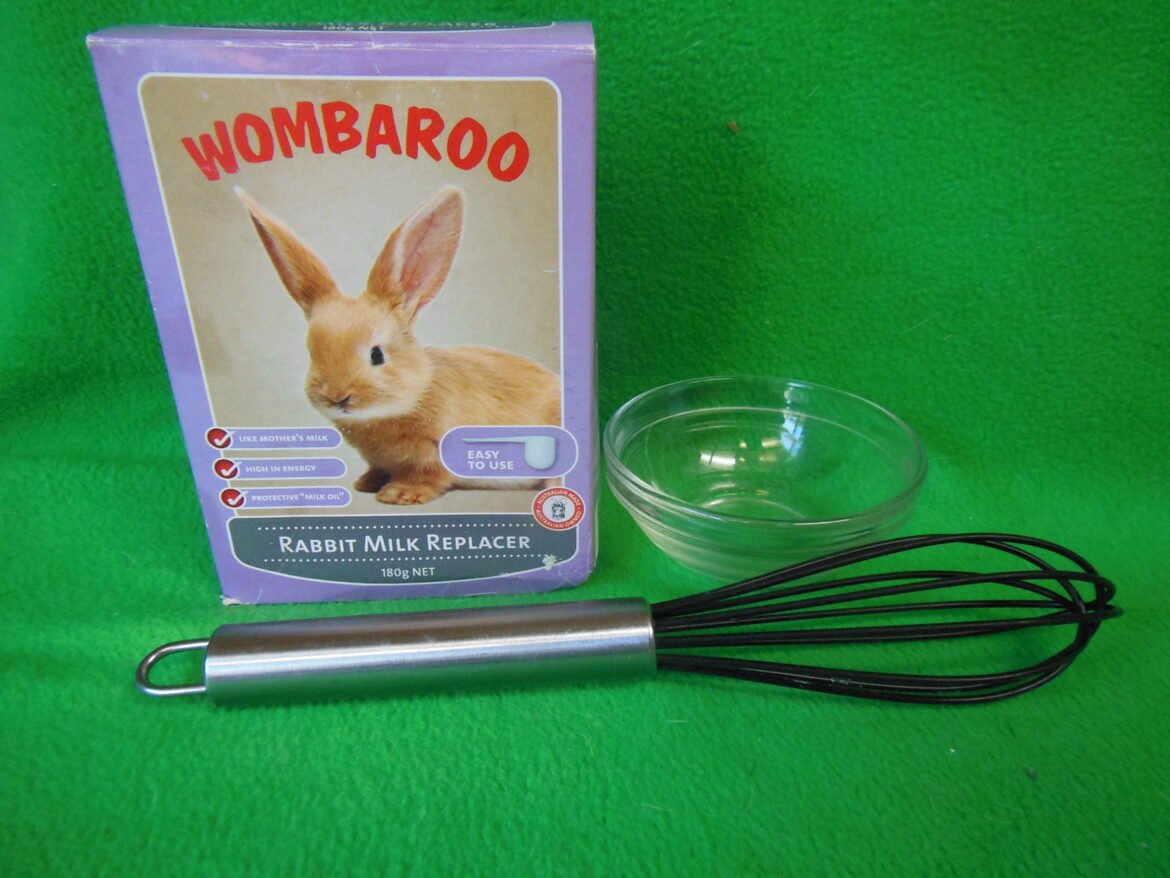
Preferred Formula: Use Wombaroo Rabbit Milk Replacement. KMR can cause gas and is also difficult to clean if left to dry on the orphan's fur.
Preparation: Mix one part Wombaroo with one part warm water, ensuring no clumps.
Feeding Method:
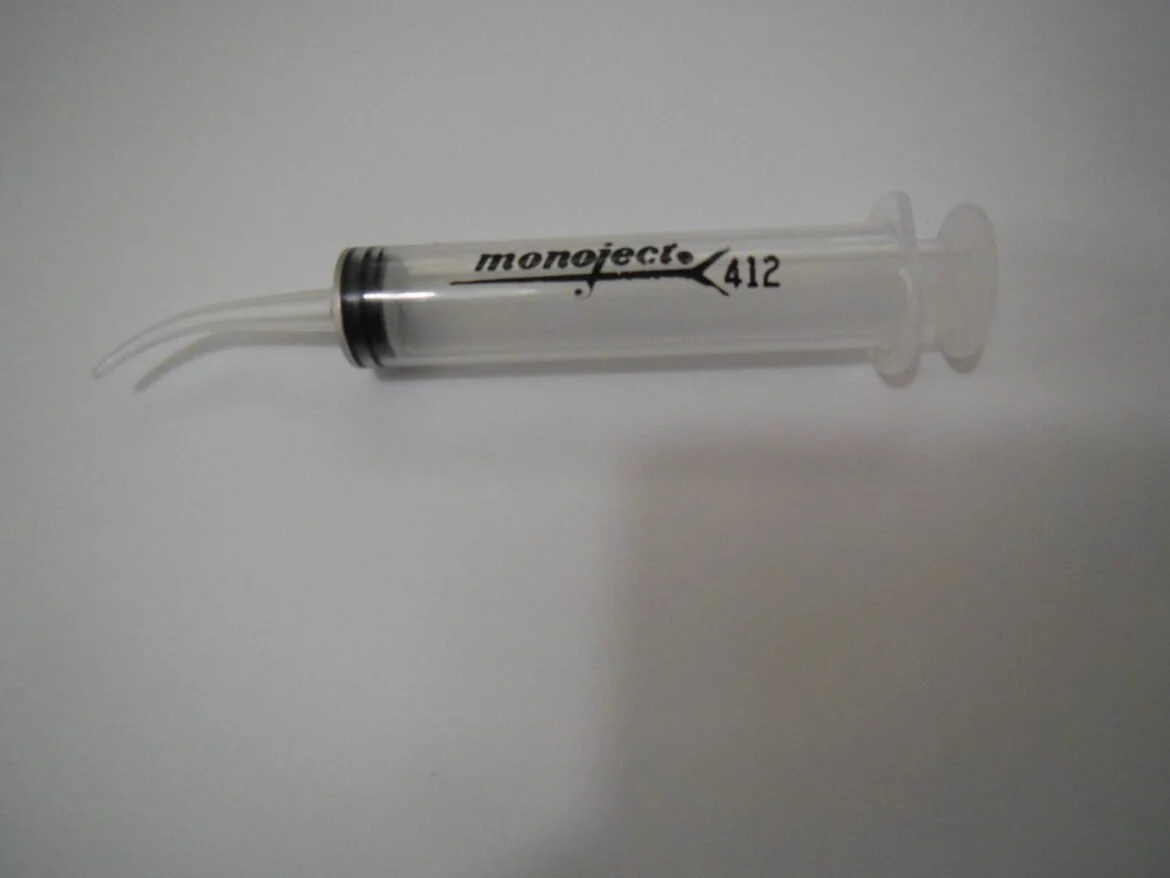
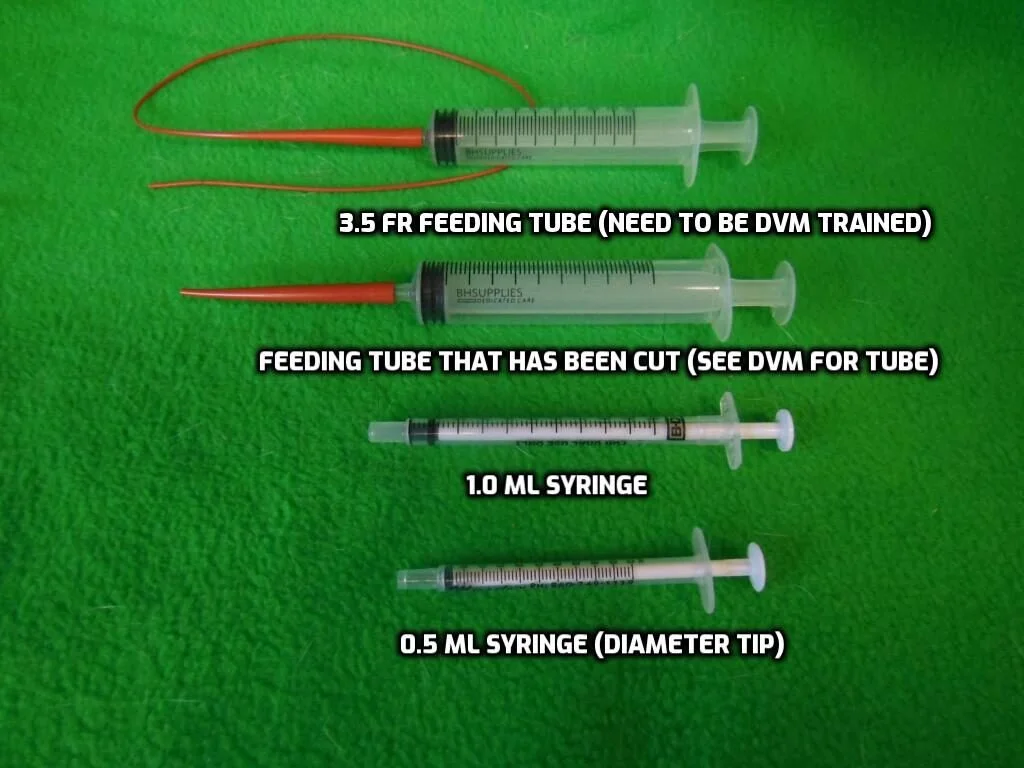
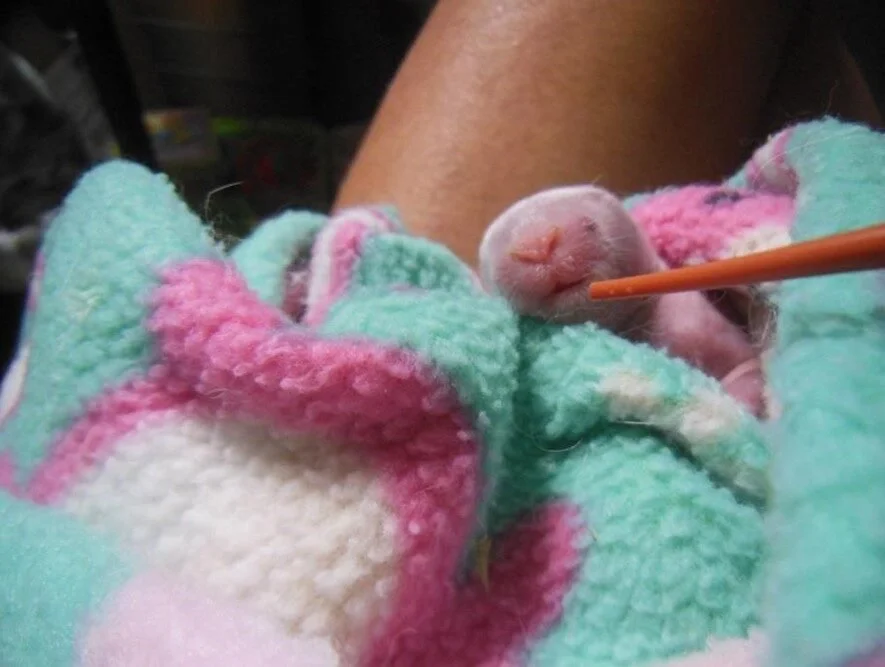
Use a FR 3 Feeding tube or a small syringe (1.0 ml or 0.5 ml).
Wrap the kit in fleece, hold kit upright, and start with a few drops of milk.
It might take a few times for the kit to understand what is going on.
You can use a curved syringe which has a very fine tip which allow entry into the kit's mouth. You have to trim the tip of the syringe. We will update with a picture at a later date. You can get this from your DVM.
Feed twice a day (morning and night), adjusting based on the kit’s response
Urine Expression
Method: Use a moist cotton ball or your finger to gently stimulate urination, mimicking a mother rabbit's grooming. You should move the moist cotton ball in one direction from the top to the bottom near the tail.

Dehydration and Emergency Care
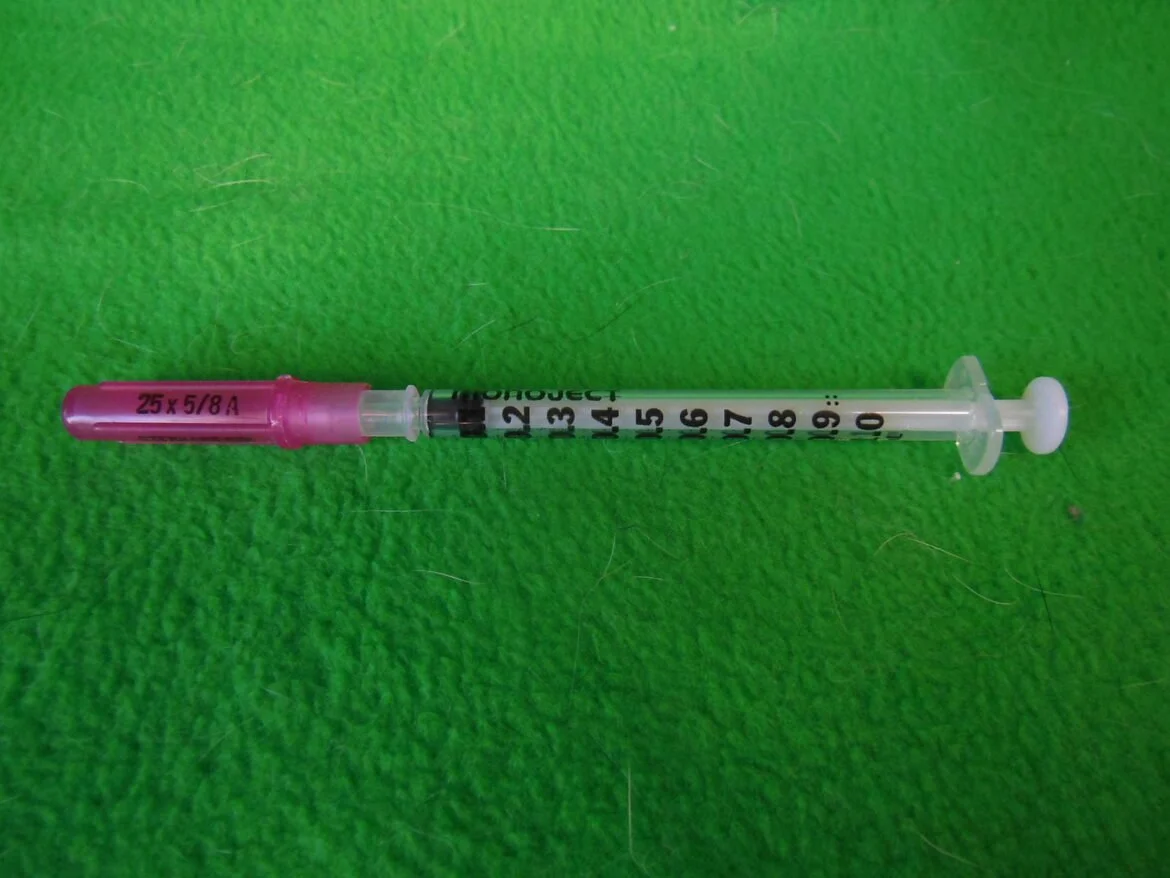
Sub-Q Fluids: Only administer if you are trained.
You must use a narrow gauge needle.
You have 0 margin for error with kits under 7 days young.
Tube Feeding: Use as a last resort if the kit shows distress or weight loss
The last resort is for Tube Feeding the Kits the kit is losing weight and the stomach is sunken in after hand feeding. You need to be trained by a DVM on this process. Tube feeding will allow you deliver several ml at a time. There are several downsides to this process. You needed to be trained by a DVM for this process and understand the risks. We only use this as a last option.
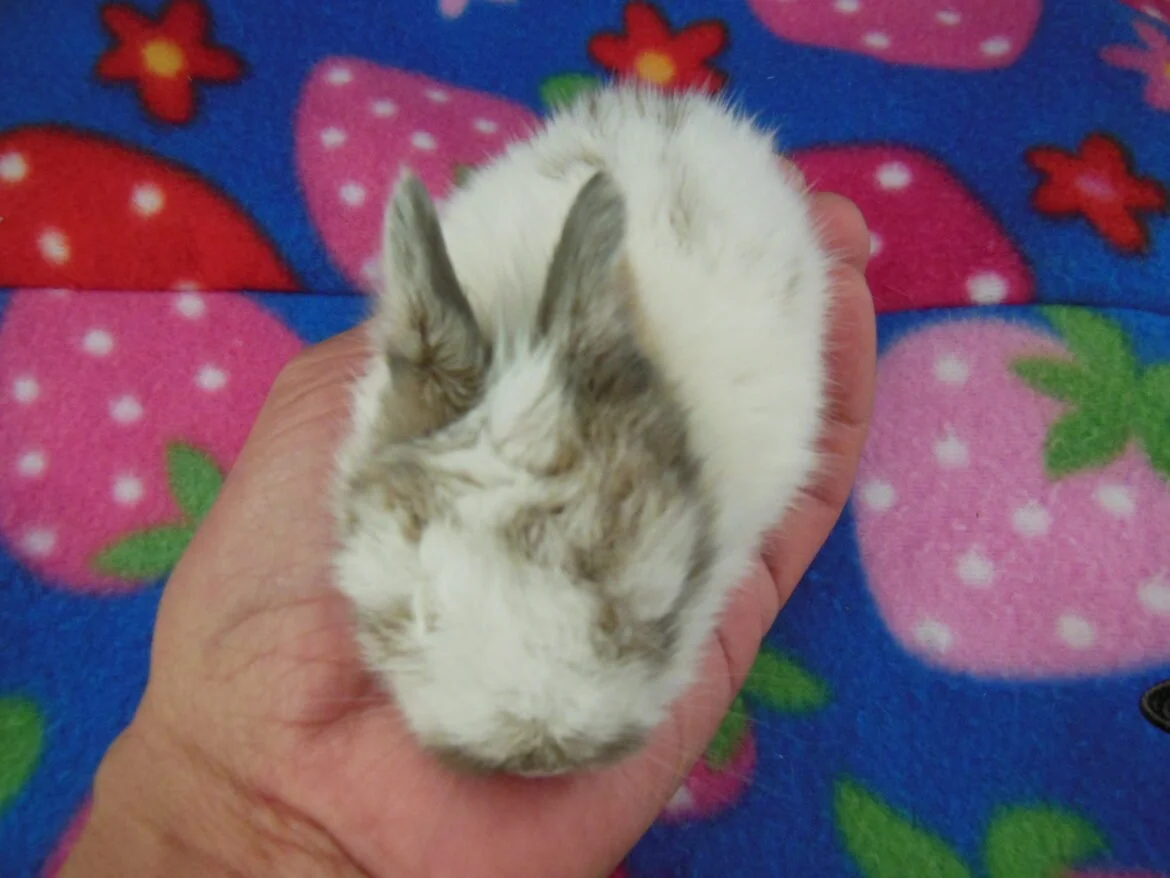
Part 2: Eyes Open but fits into your palm
You need to weigh the kit as before. Pictures of the stomach and skin are not important. The kit would have fur that would cover the area. You need to do a basic health check of the kit.
The nose should be dry.
No discharge around the eyes, nose or mouth.
Look for any wounds i.e. cat bites 911(seek a vet you must clean the wound)
Look at the bottom area for any signs of diarrhea 911(seek a vet your bunny may need Ponazuril)
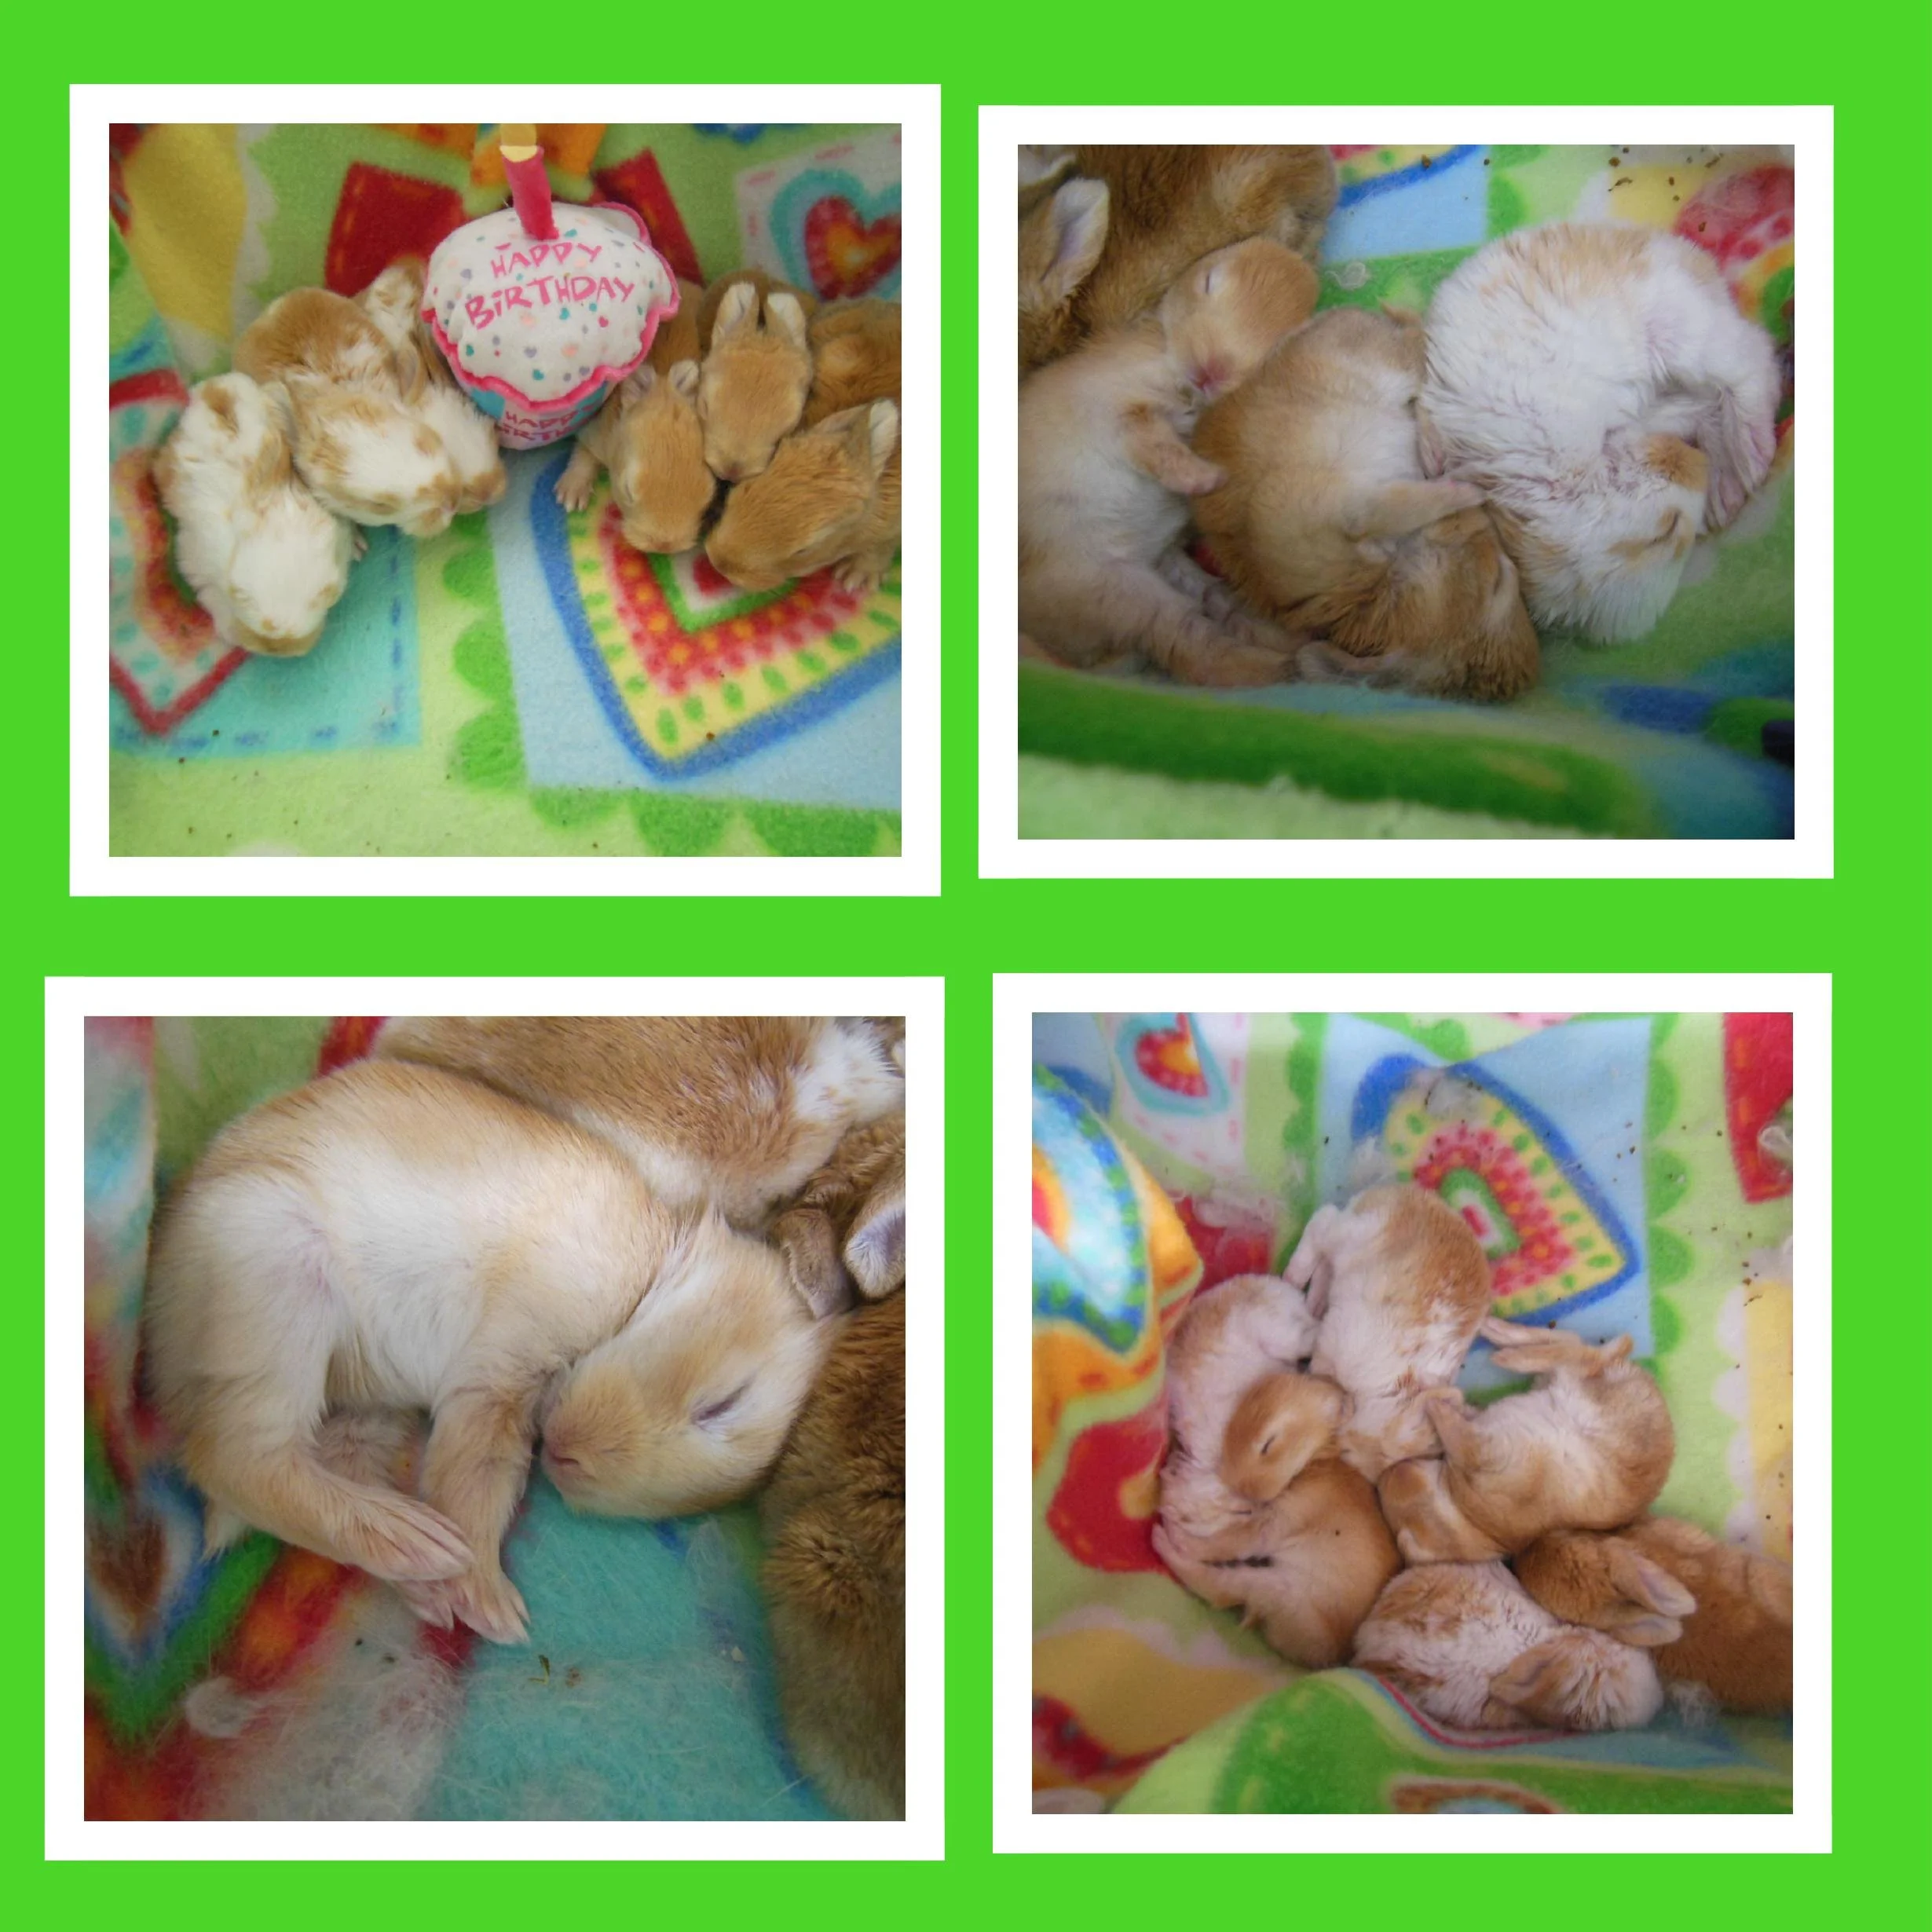
Does the bunny seem active or maybe crashing
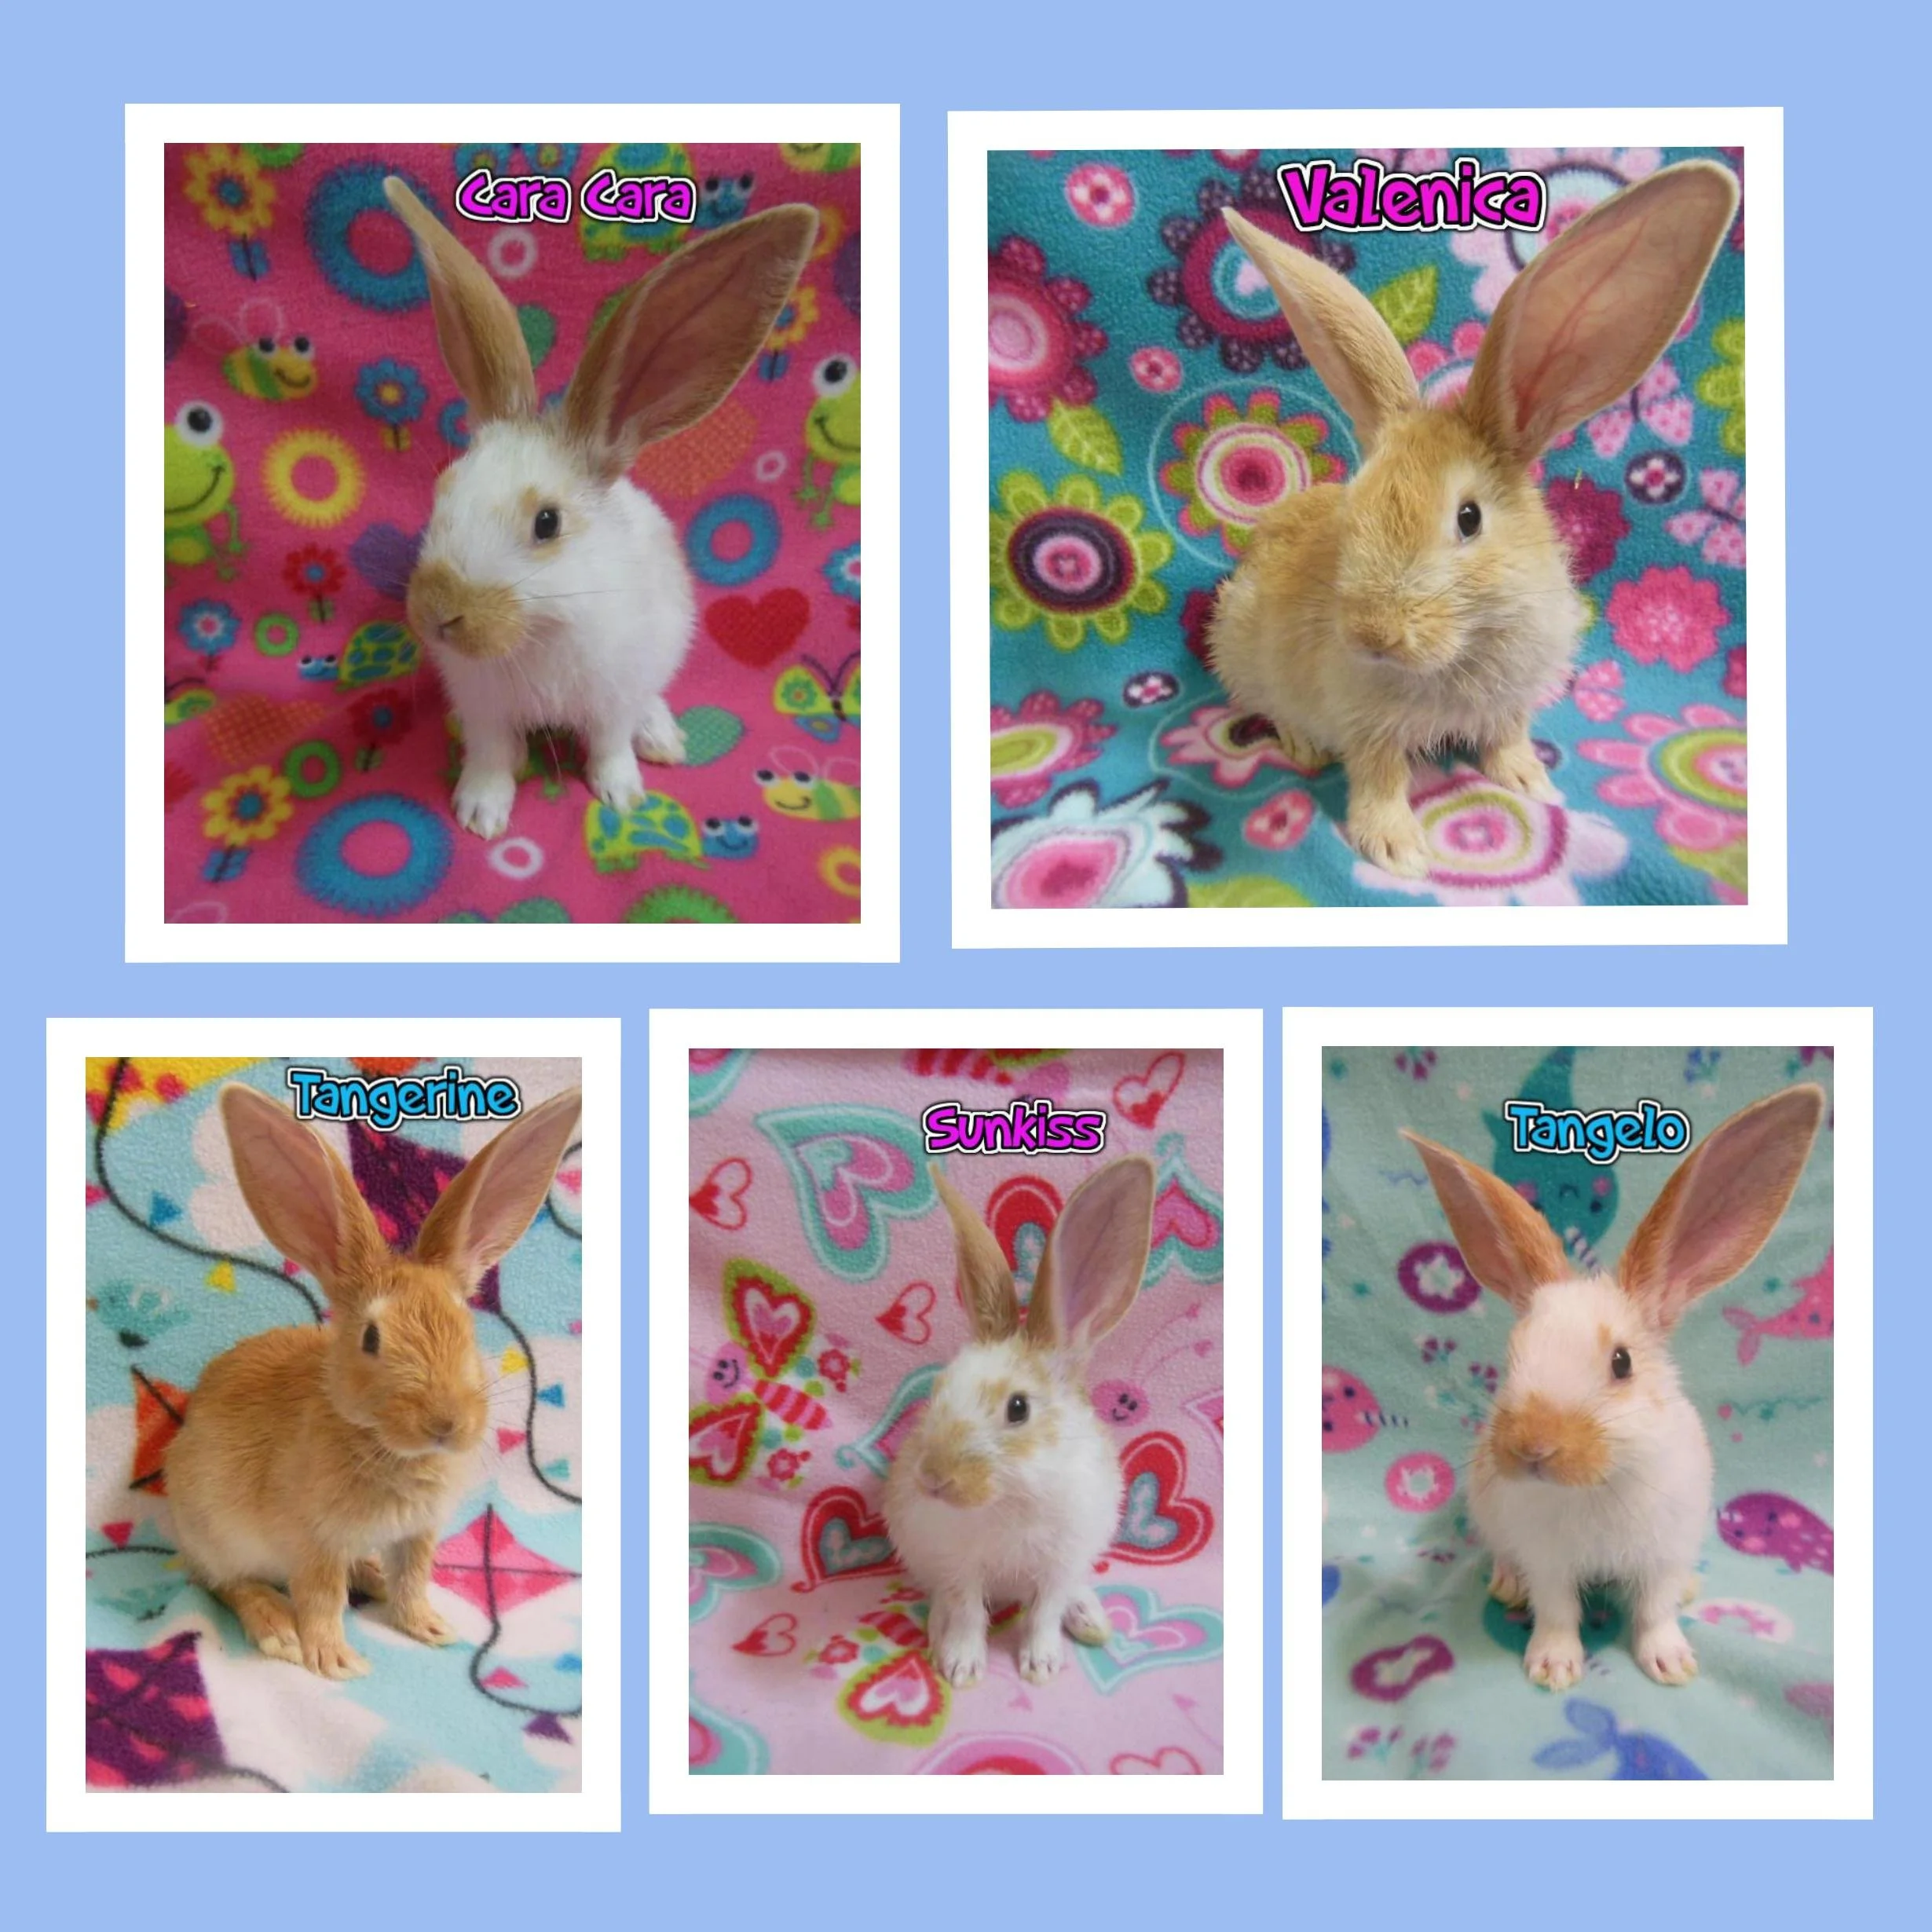
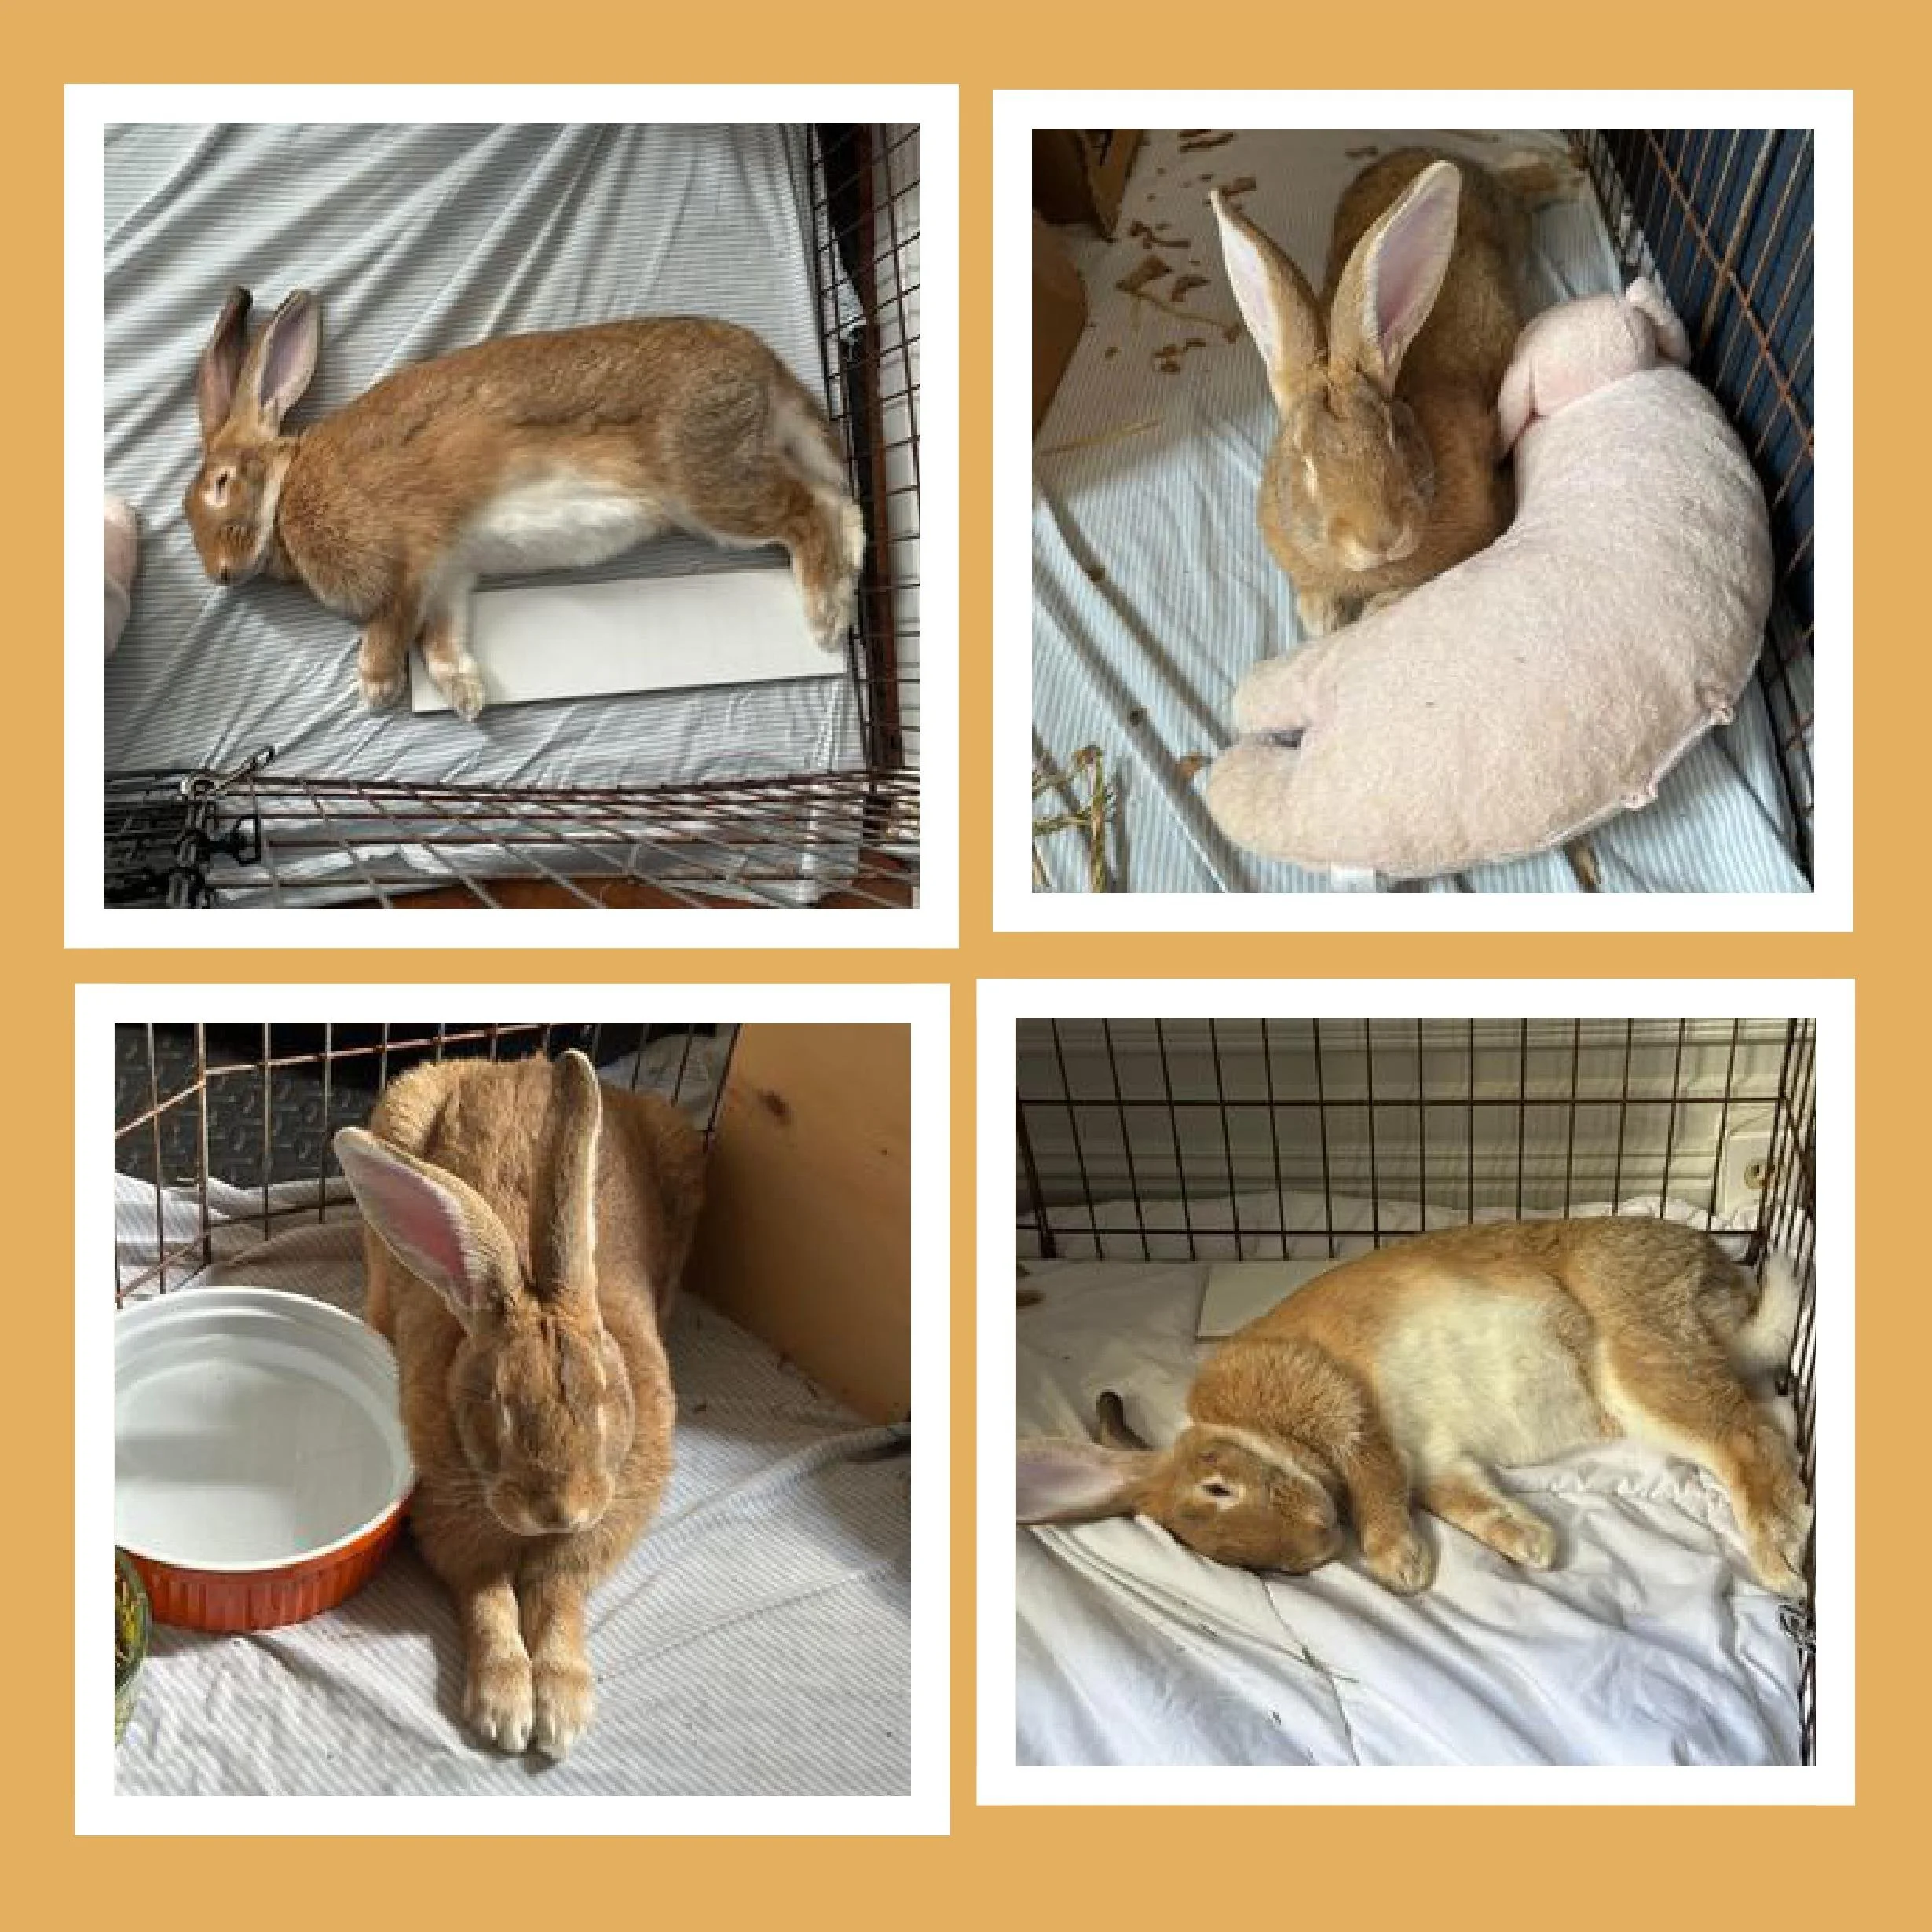
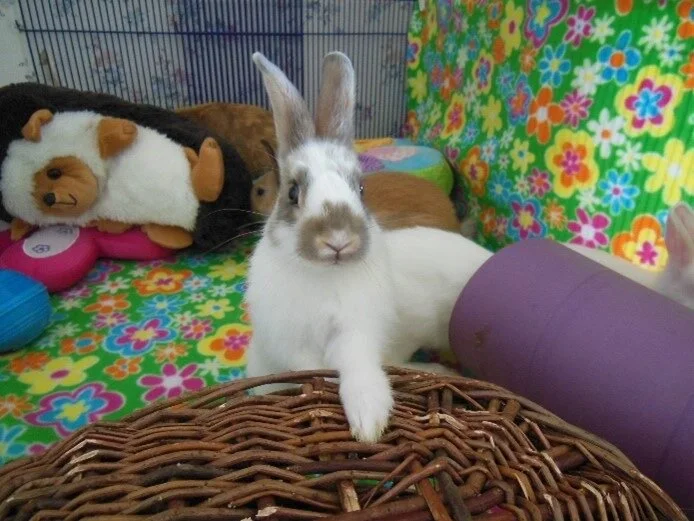
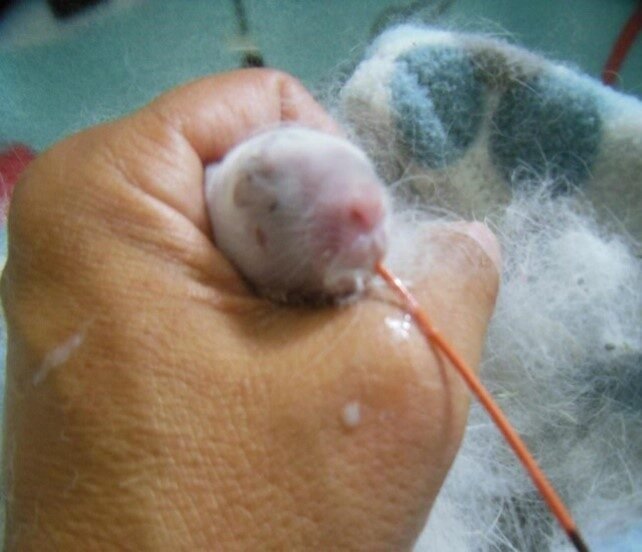
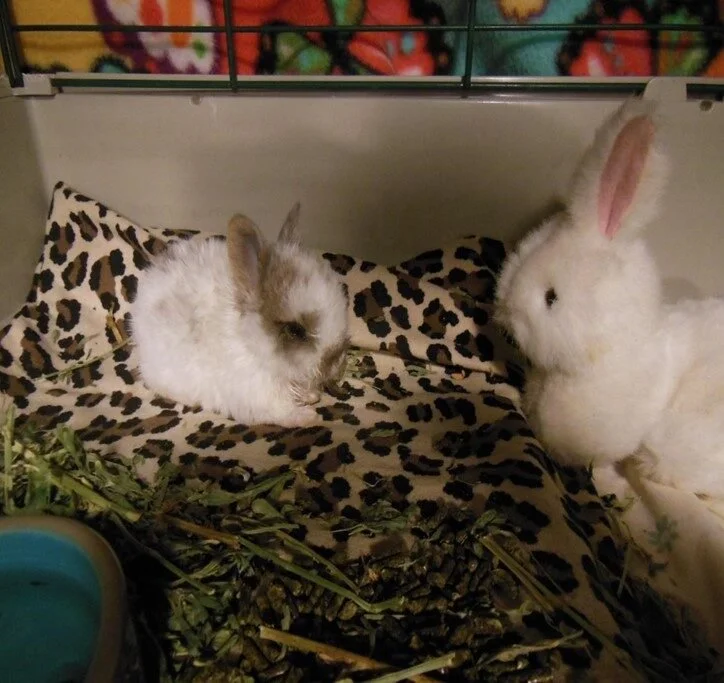
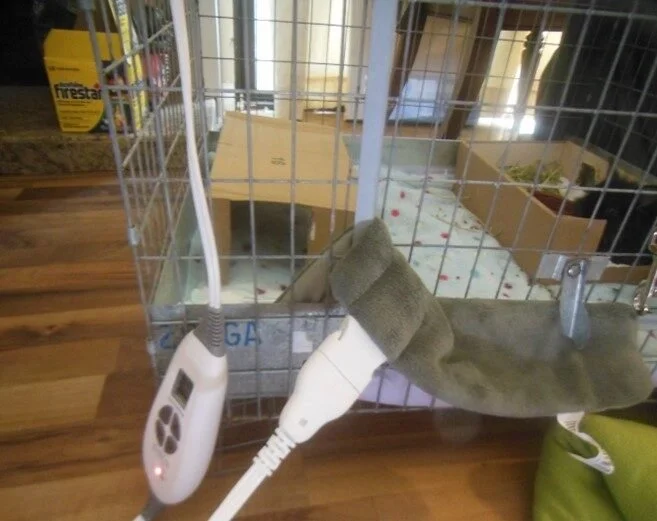
Nibbles (shown below) was number 5. Nibbles was crashing. Nibbles was saved and found a Great Forever Home and Friend. He was placed on a heating pad (as shown). Nibbles was light weight and not active along with being dehydrated. He did not take to hand feeding. We then went directly to tube feeding. He gave the scream of death and we went directly to tube feeding. He would have died that night if did not react. We did that for several weeks.
Place the orphaned kit in a secure, quiet indoor area. Use a heating pad set to low and keep it on 24/7, making sure the kit can move off the heat if needed.
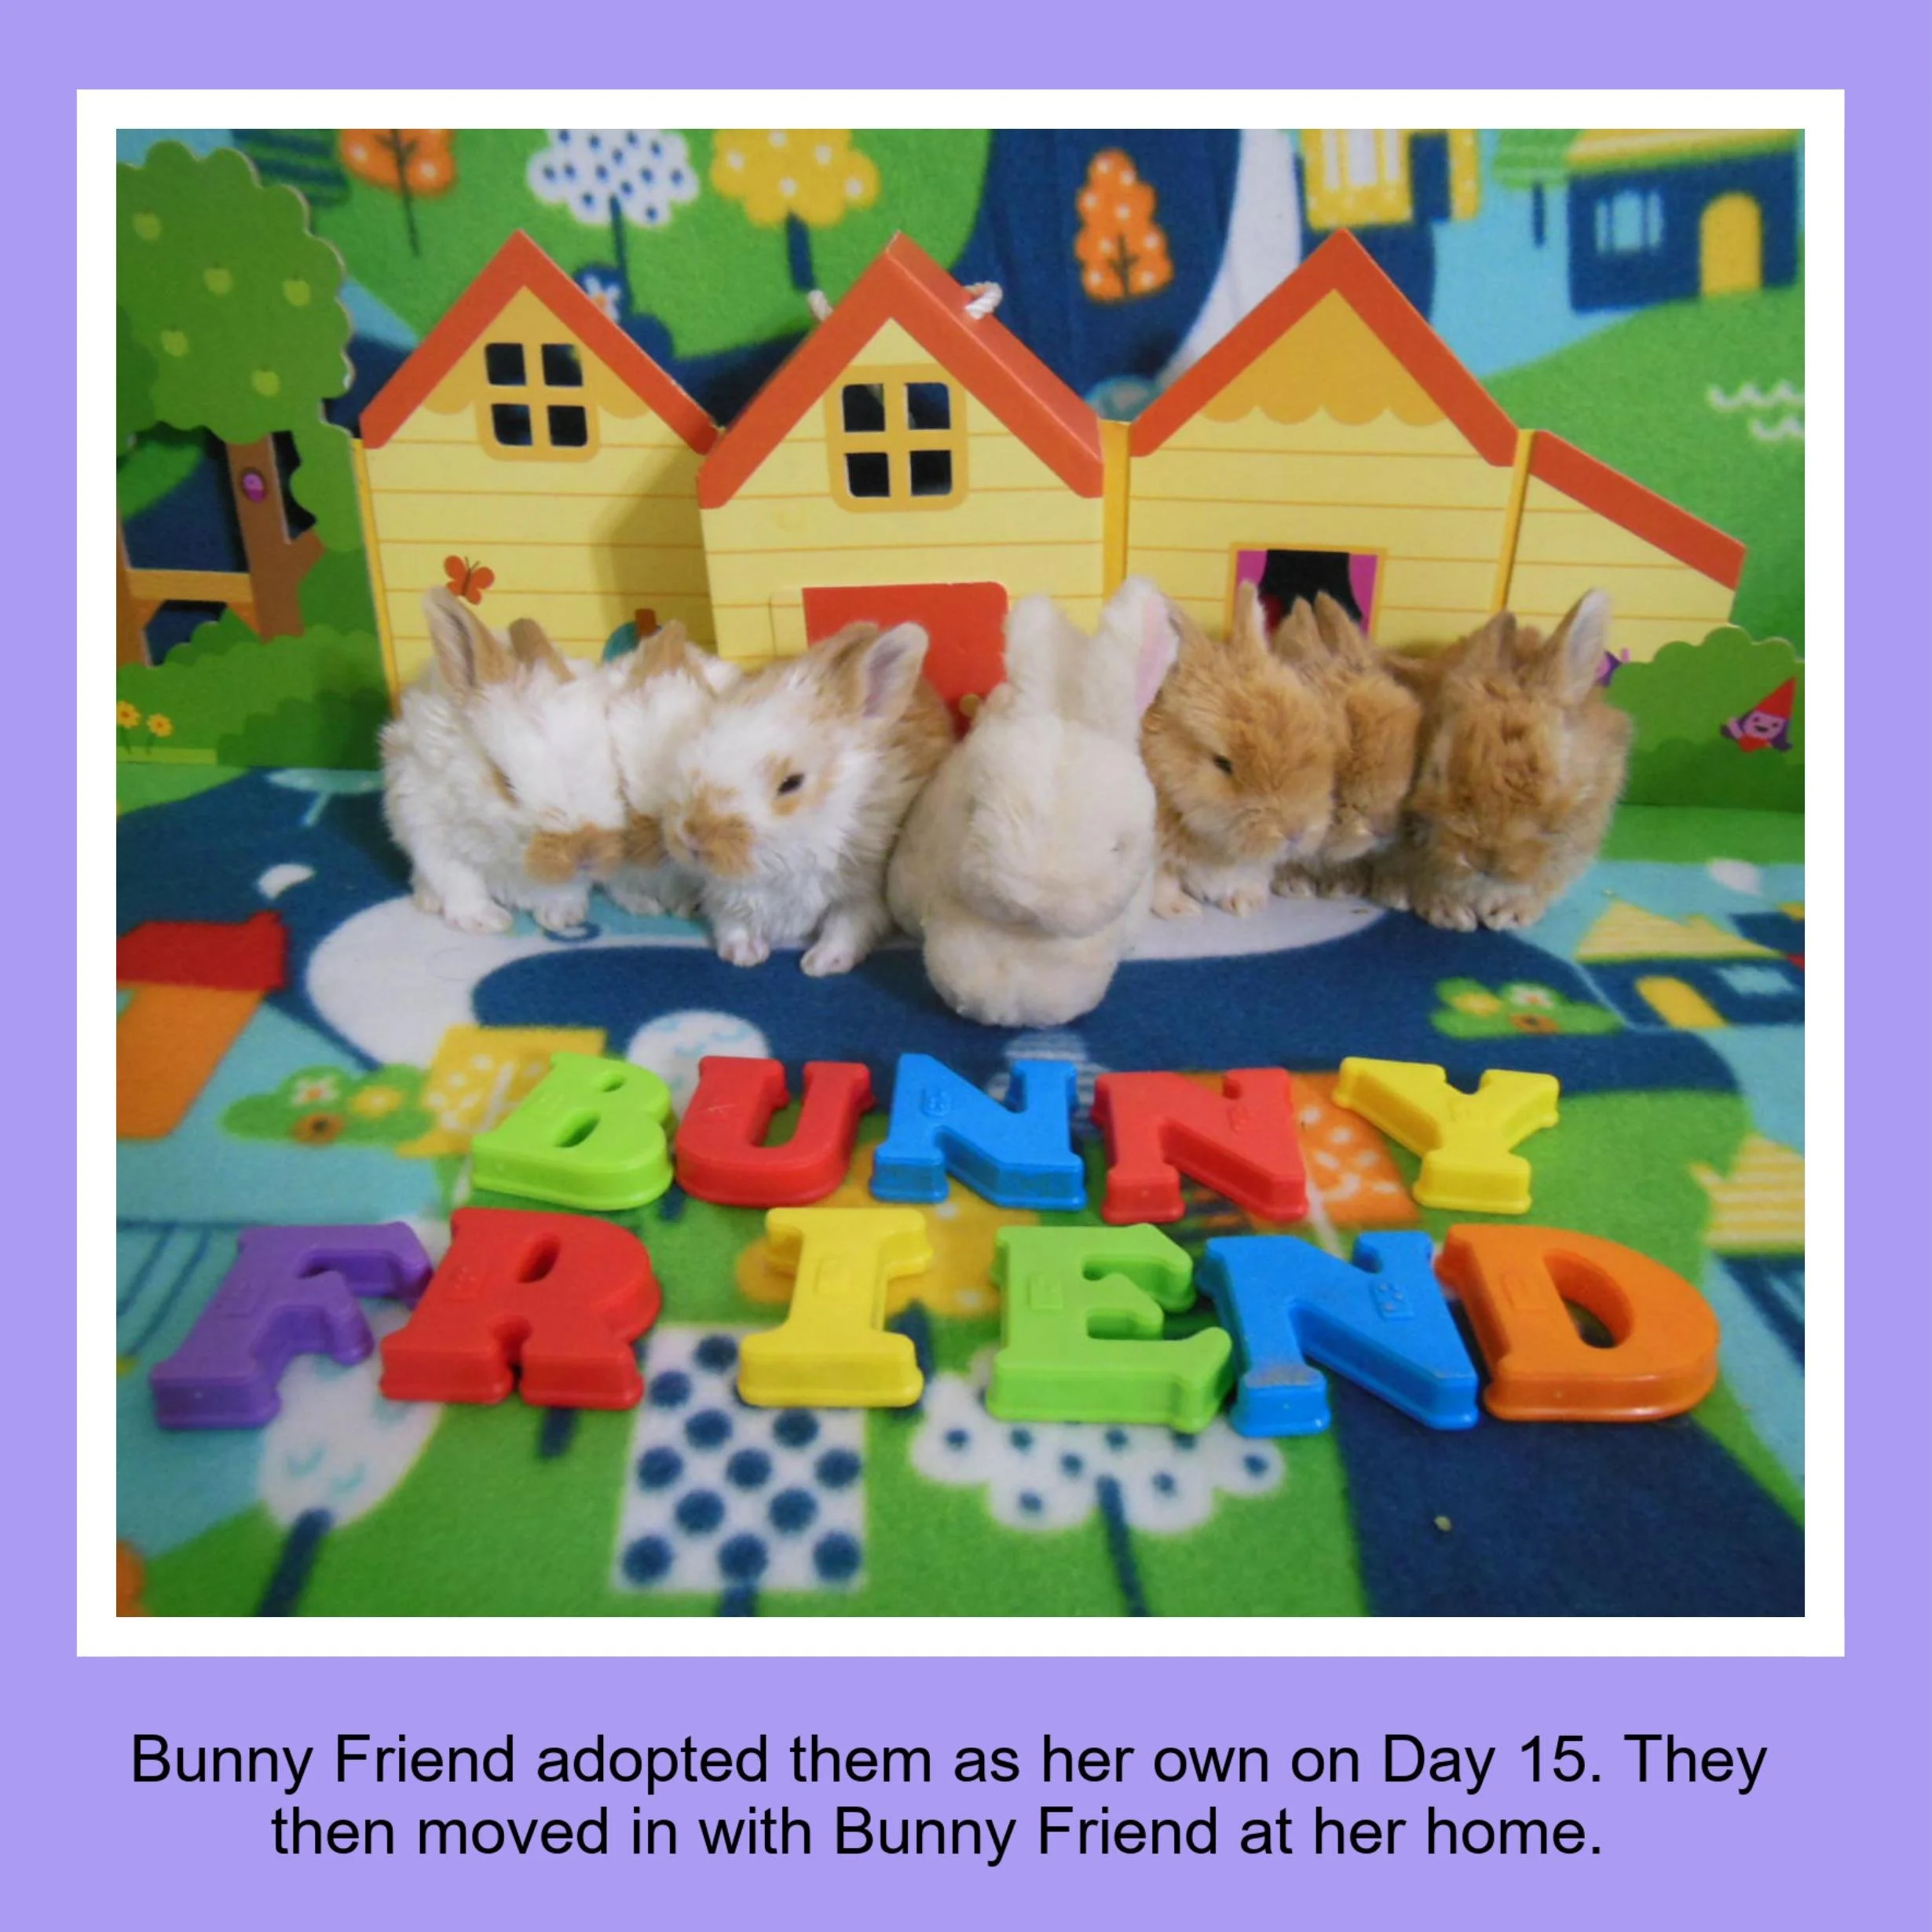
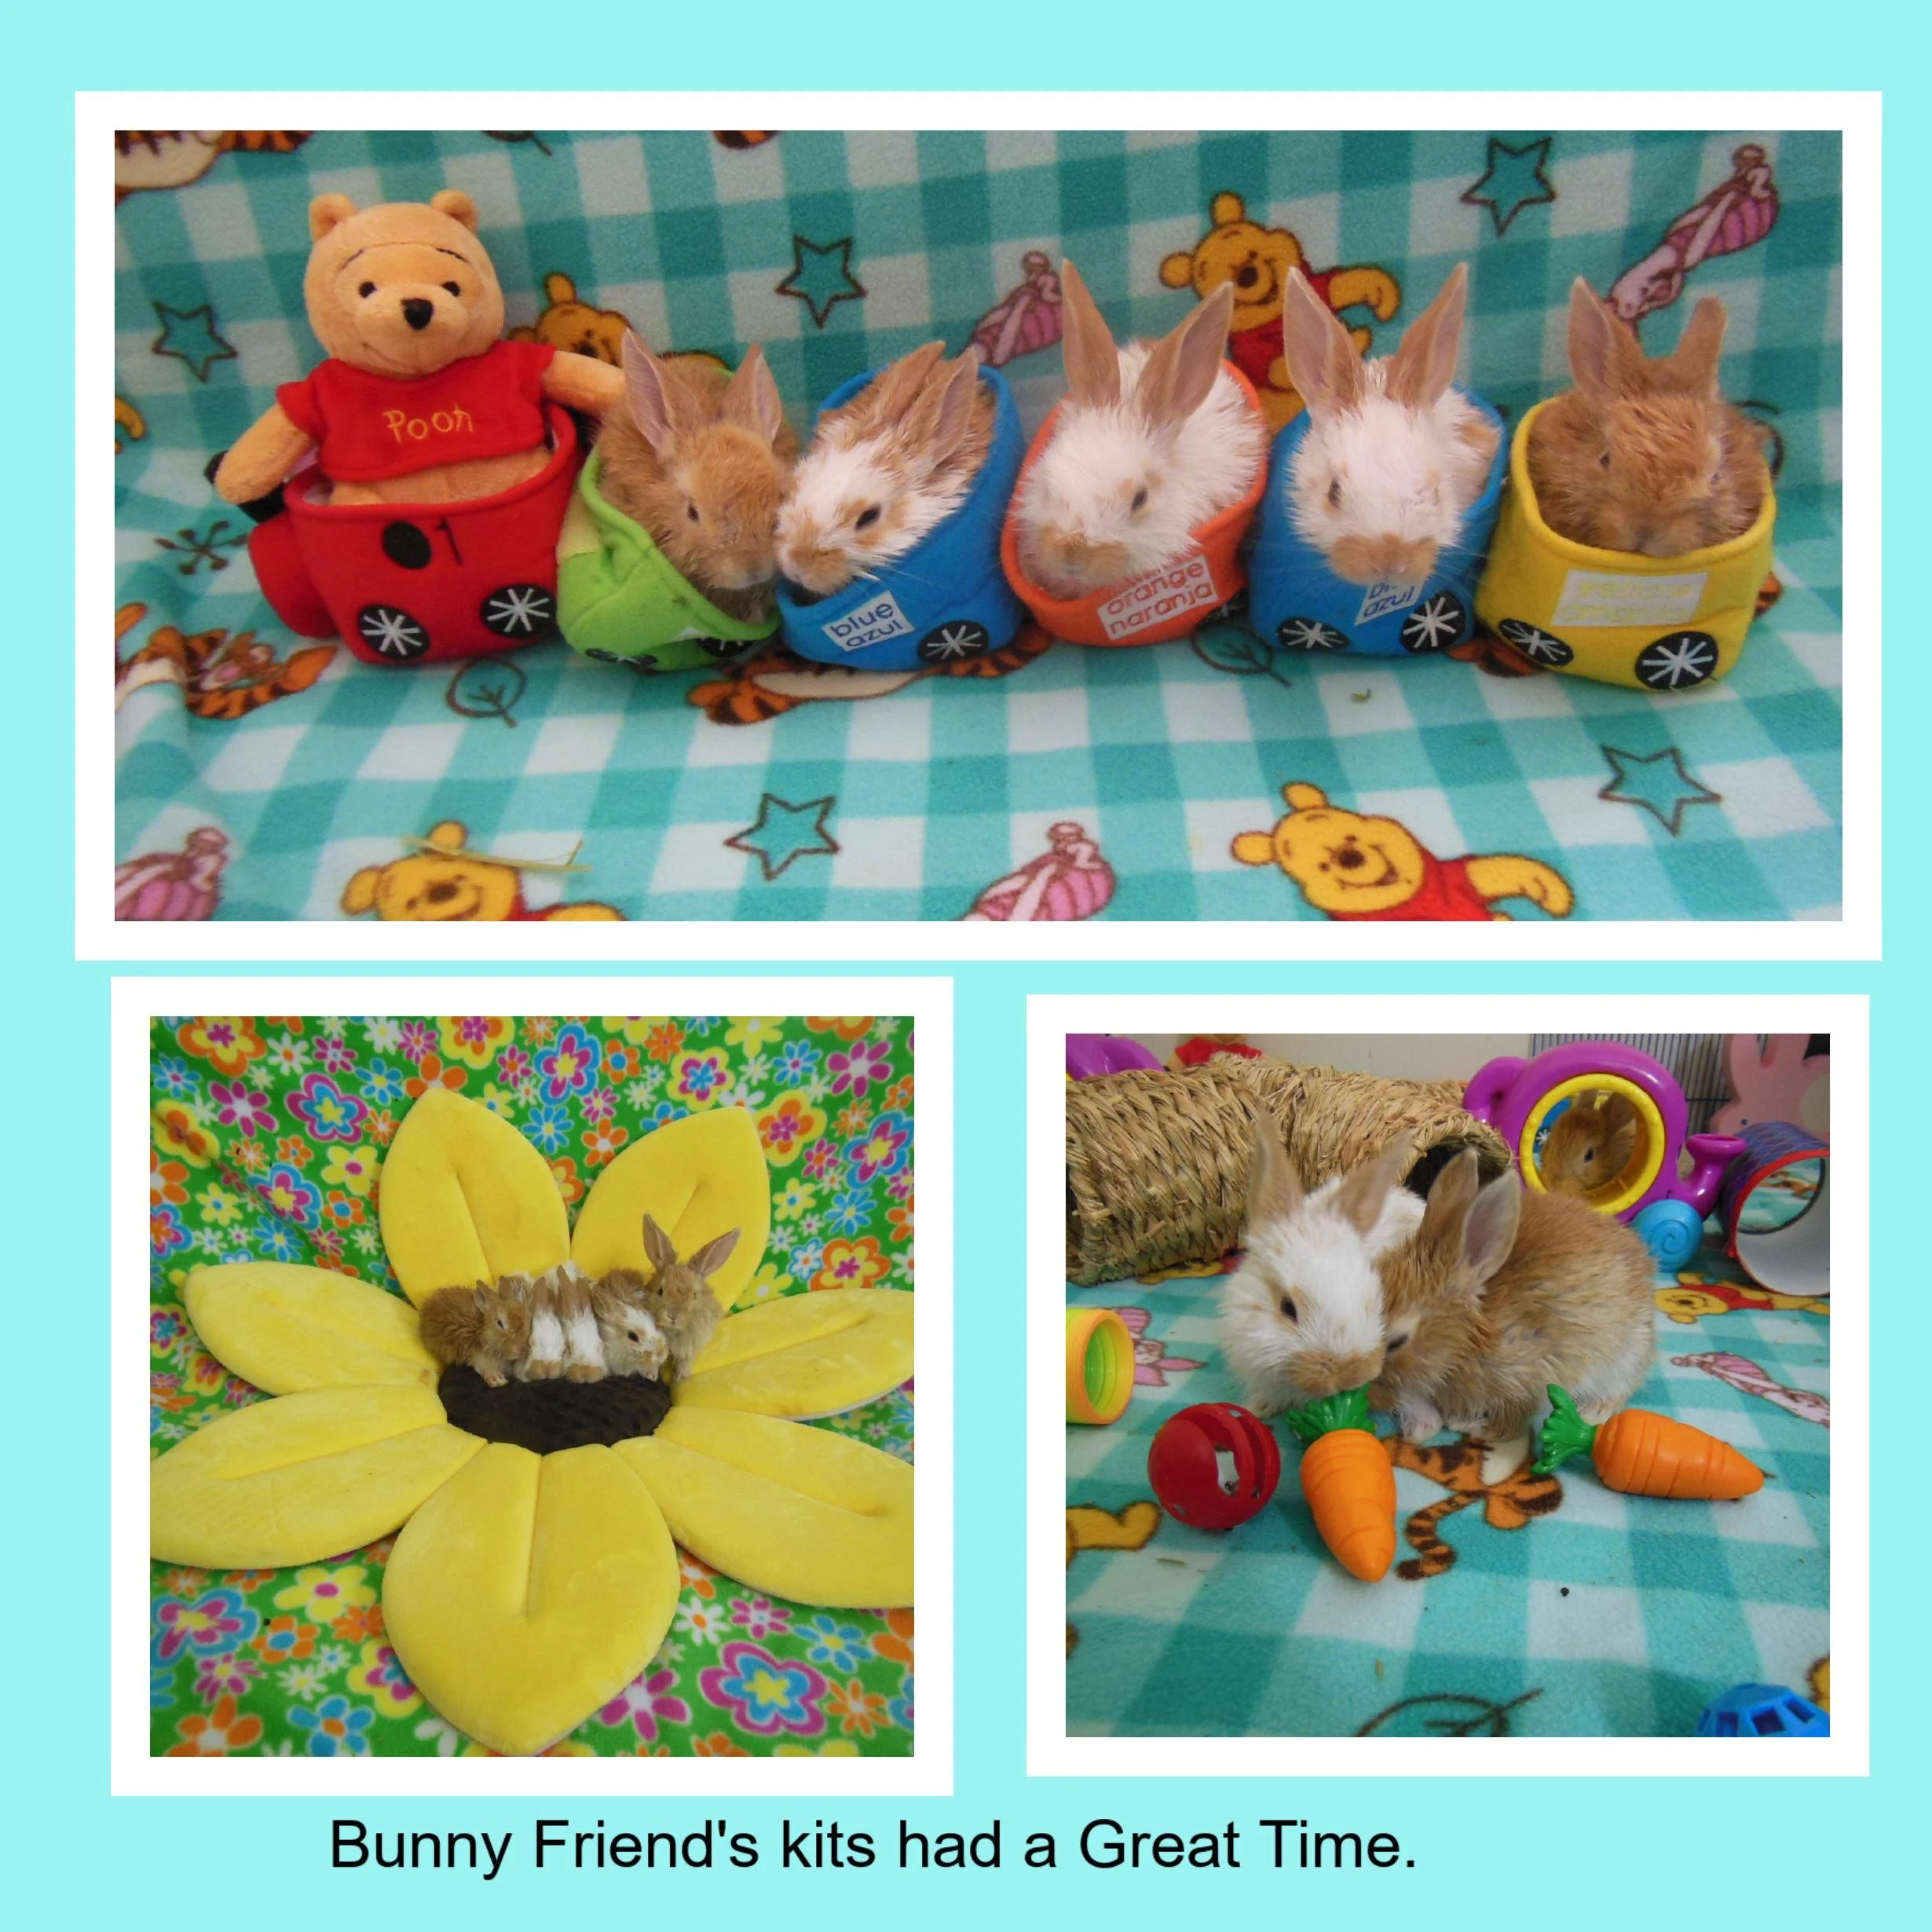
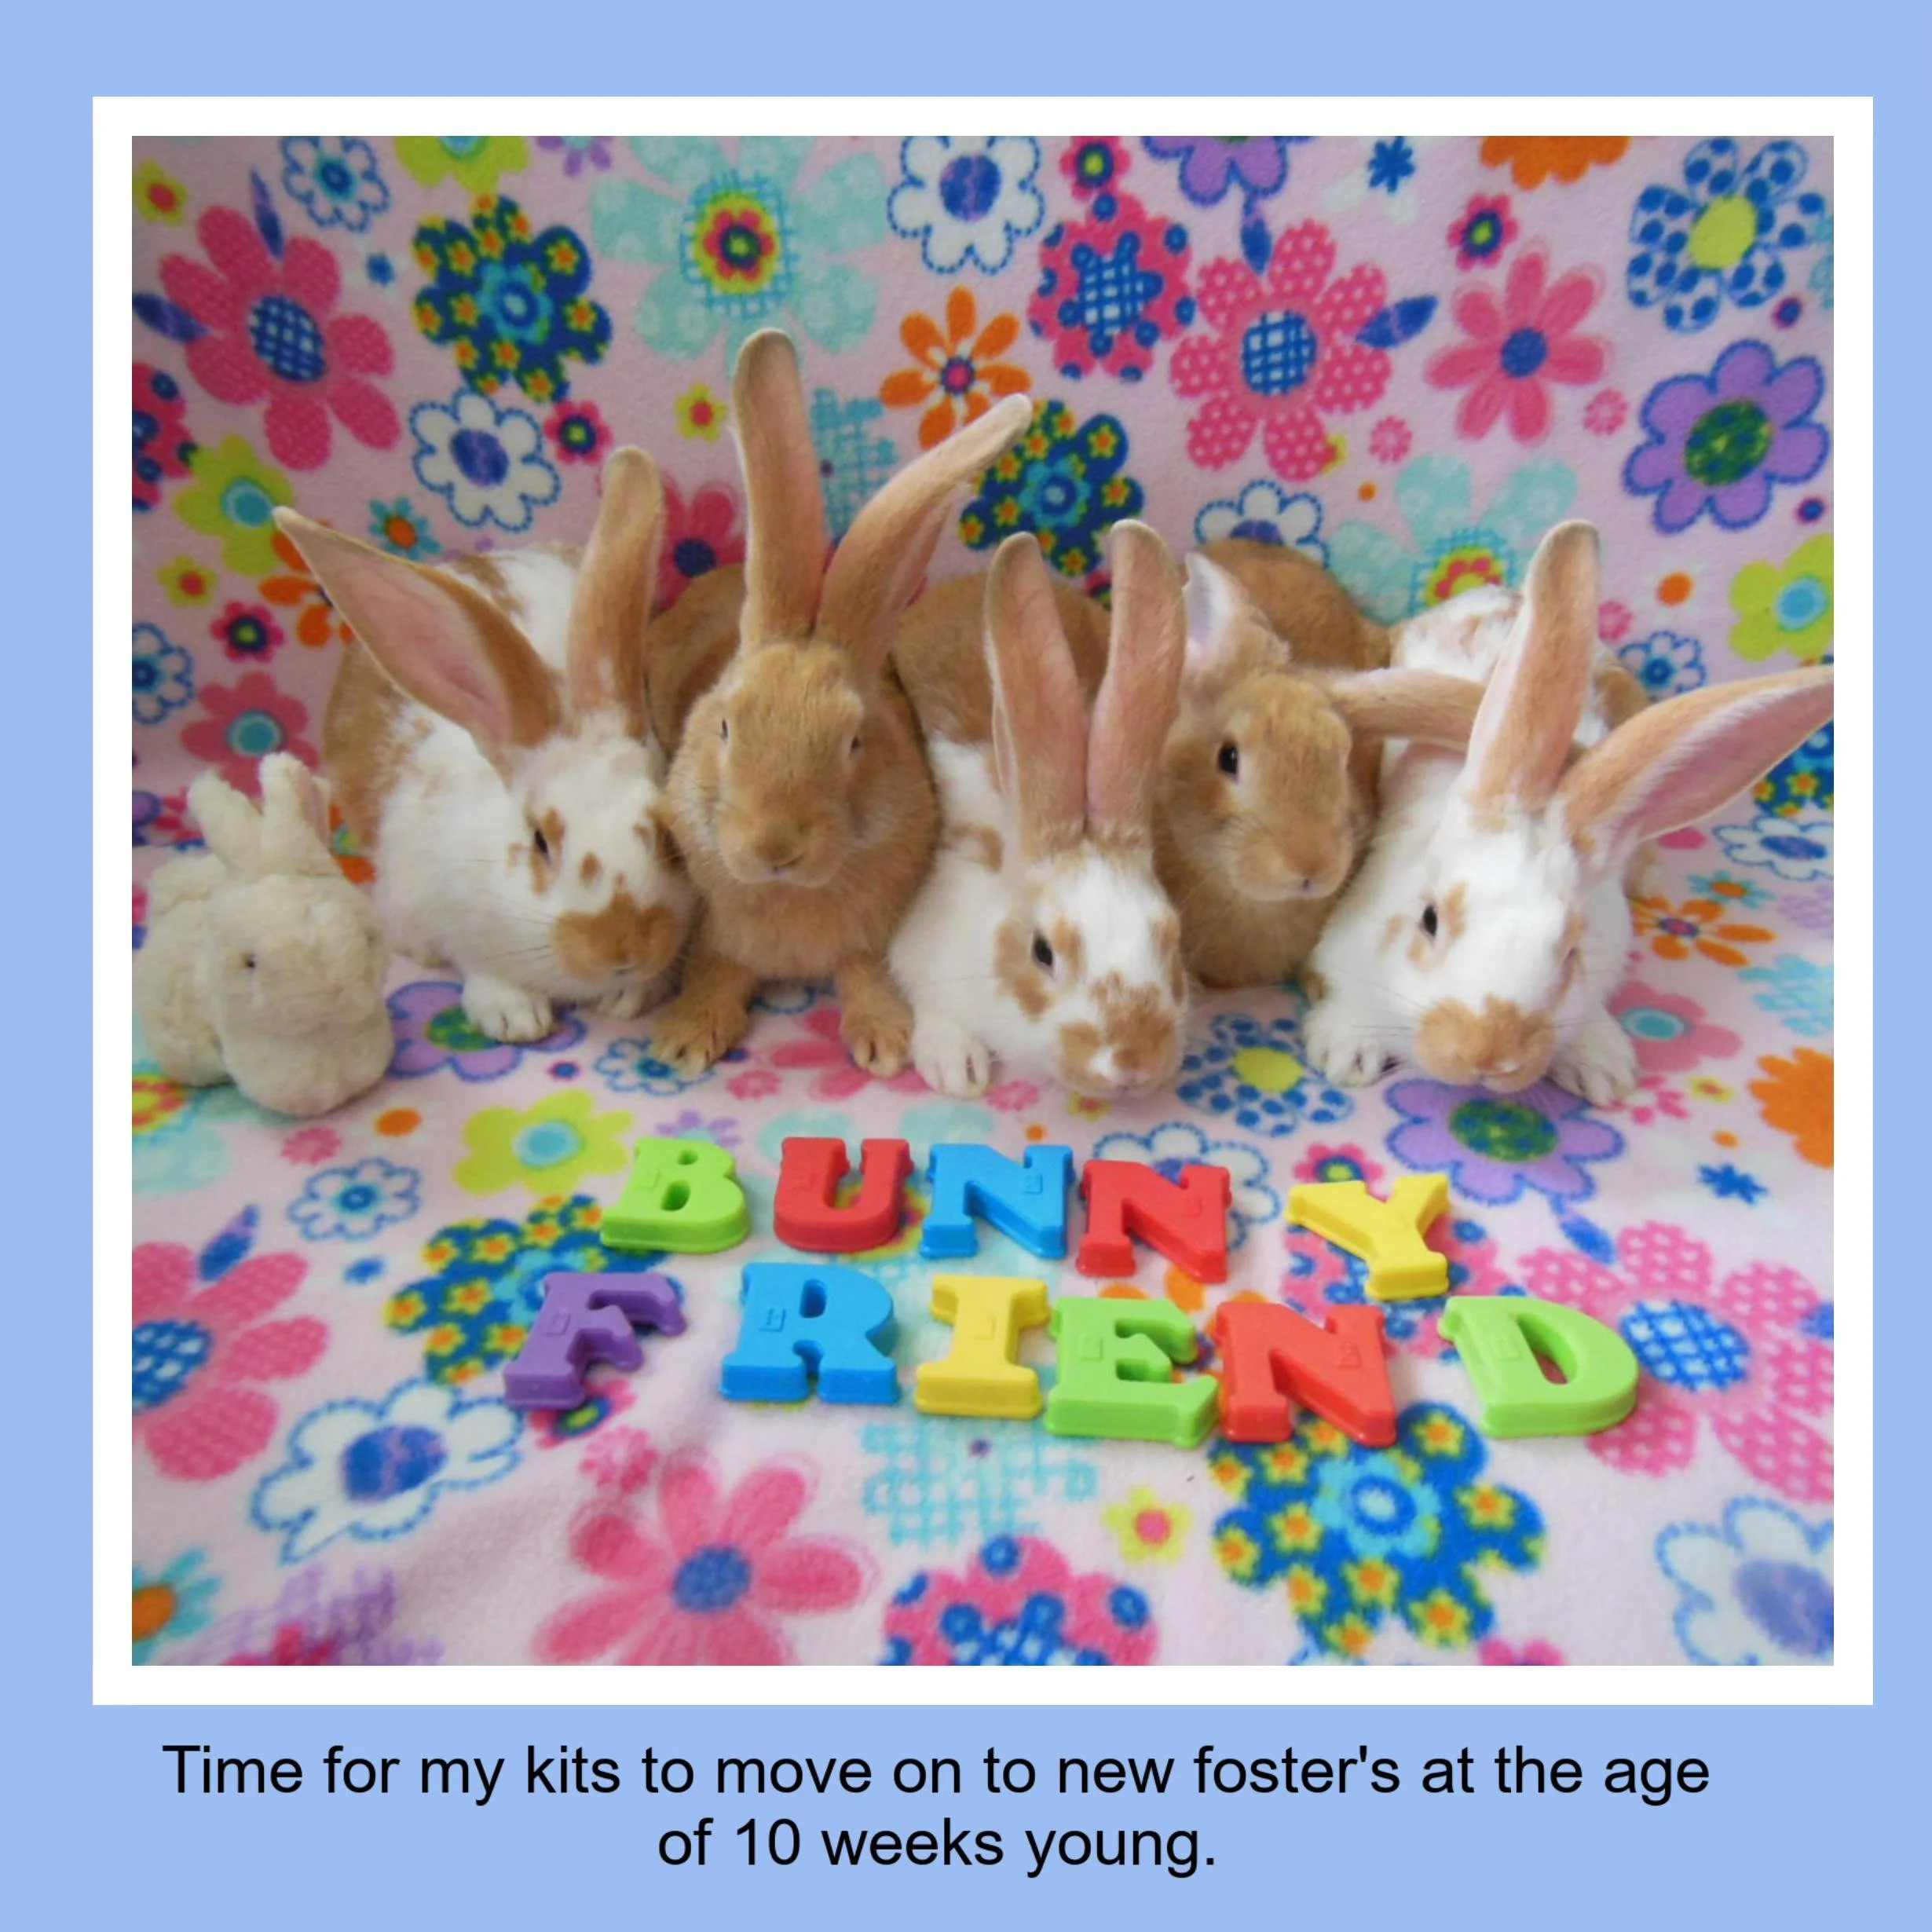
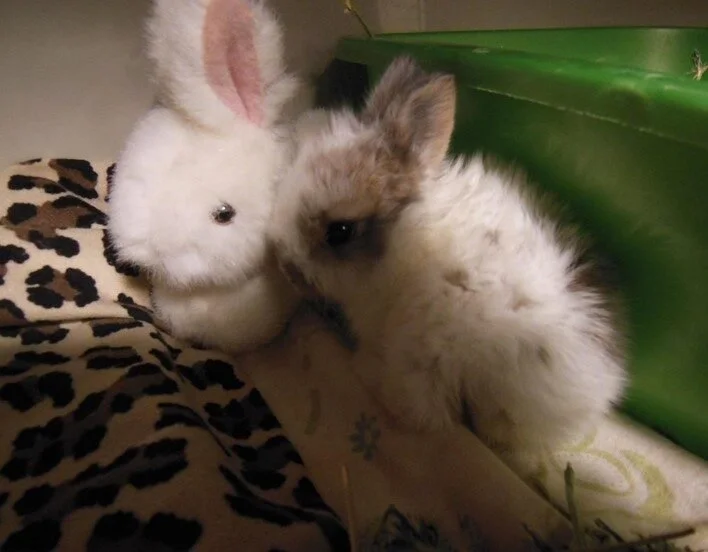
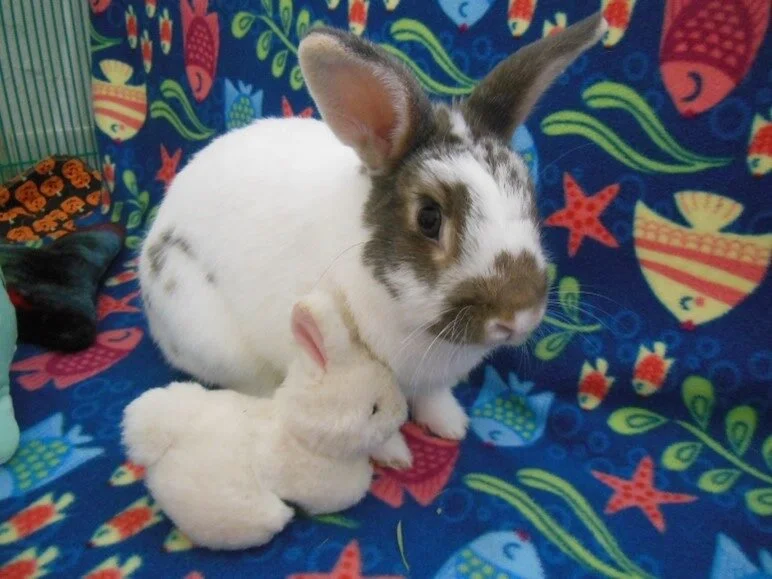
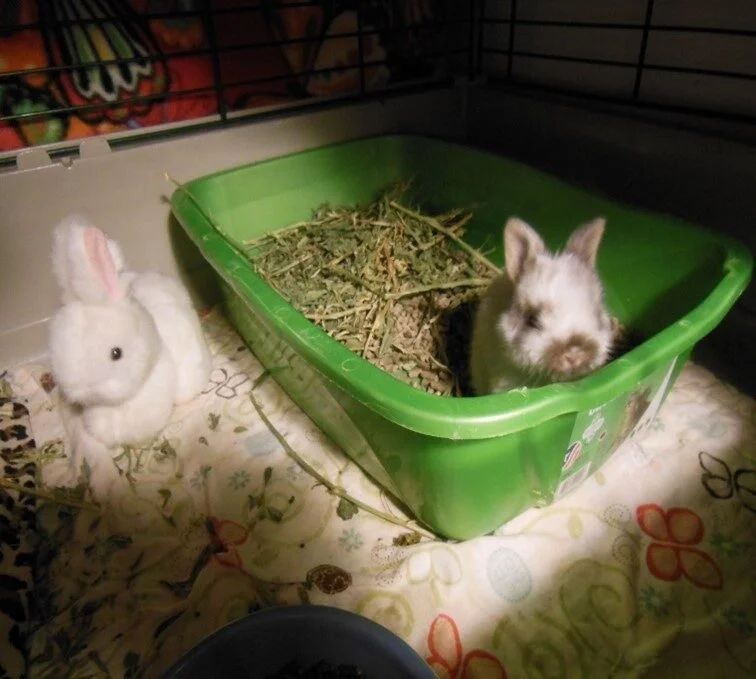
Provide a low-profile litter box and a small water bowl. Place a small stuffed rabbit or similar plush toy with the kit for comfort (often called a “bunny friend”).
Offer small flakes of alfalfa hay and baby rabbit pellets.
Feed the kit Wombaroo Rabbit Milk Replacer using a 10 ml syringe, Miracle Nipple, or a similar feeding tool. Once the kit begins consuming Wombaroo and/or hay and pellets, it should gain approximately 10% of its body weight per day.
At this age, you do not need to stimulate the kit with a warm cotton ball on the private area.
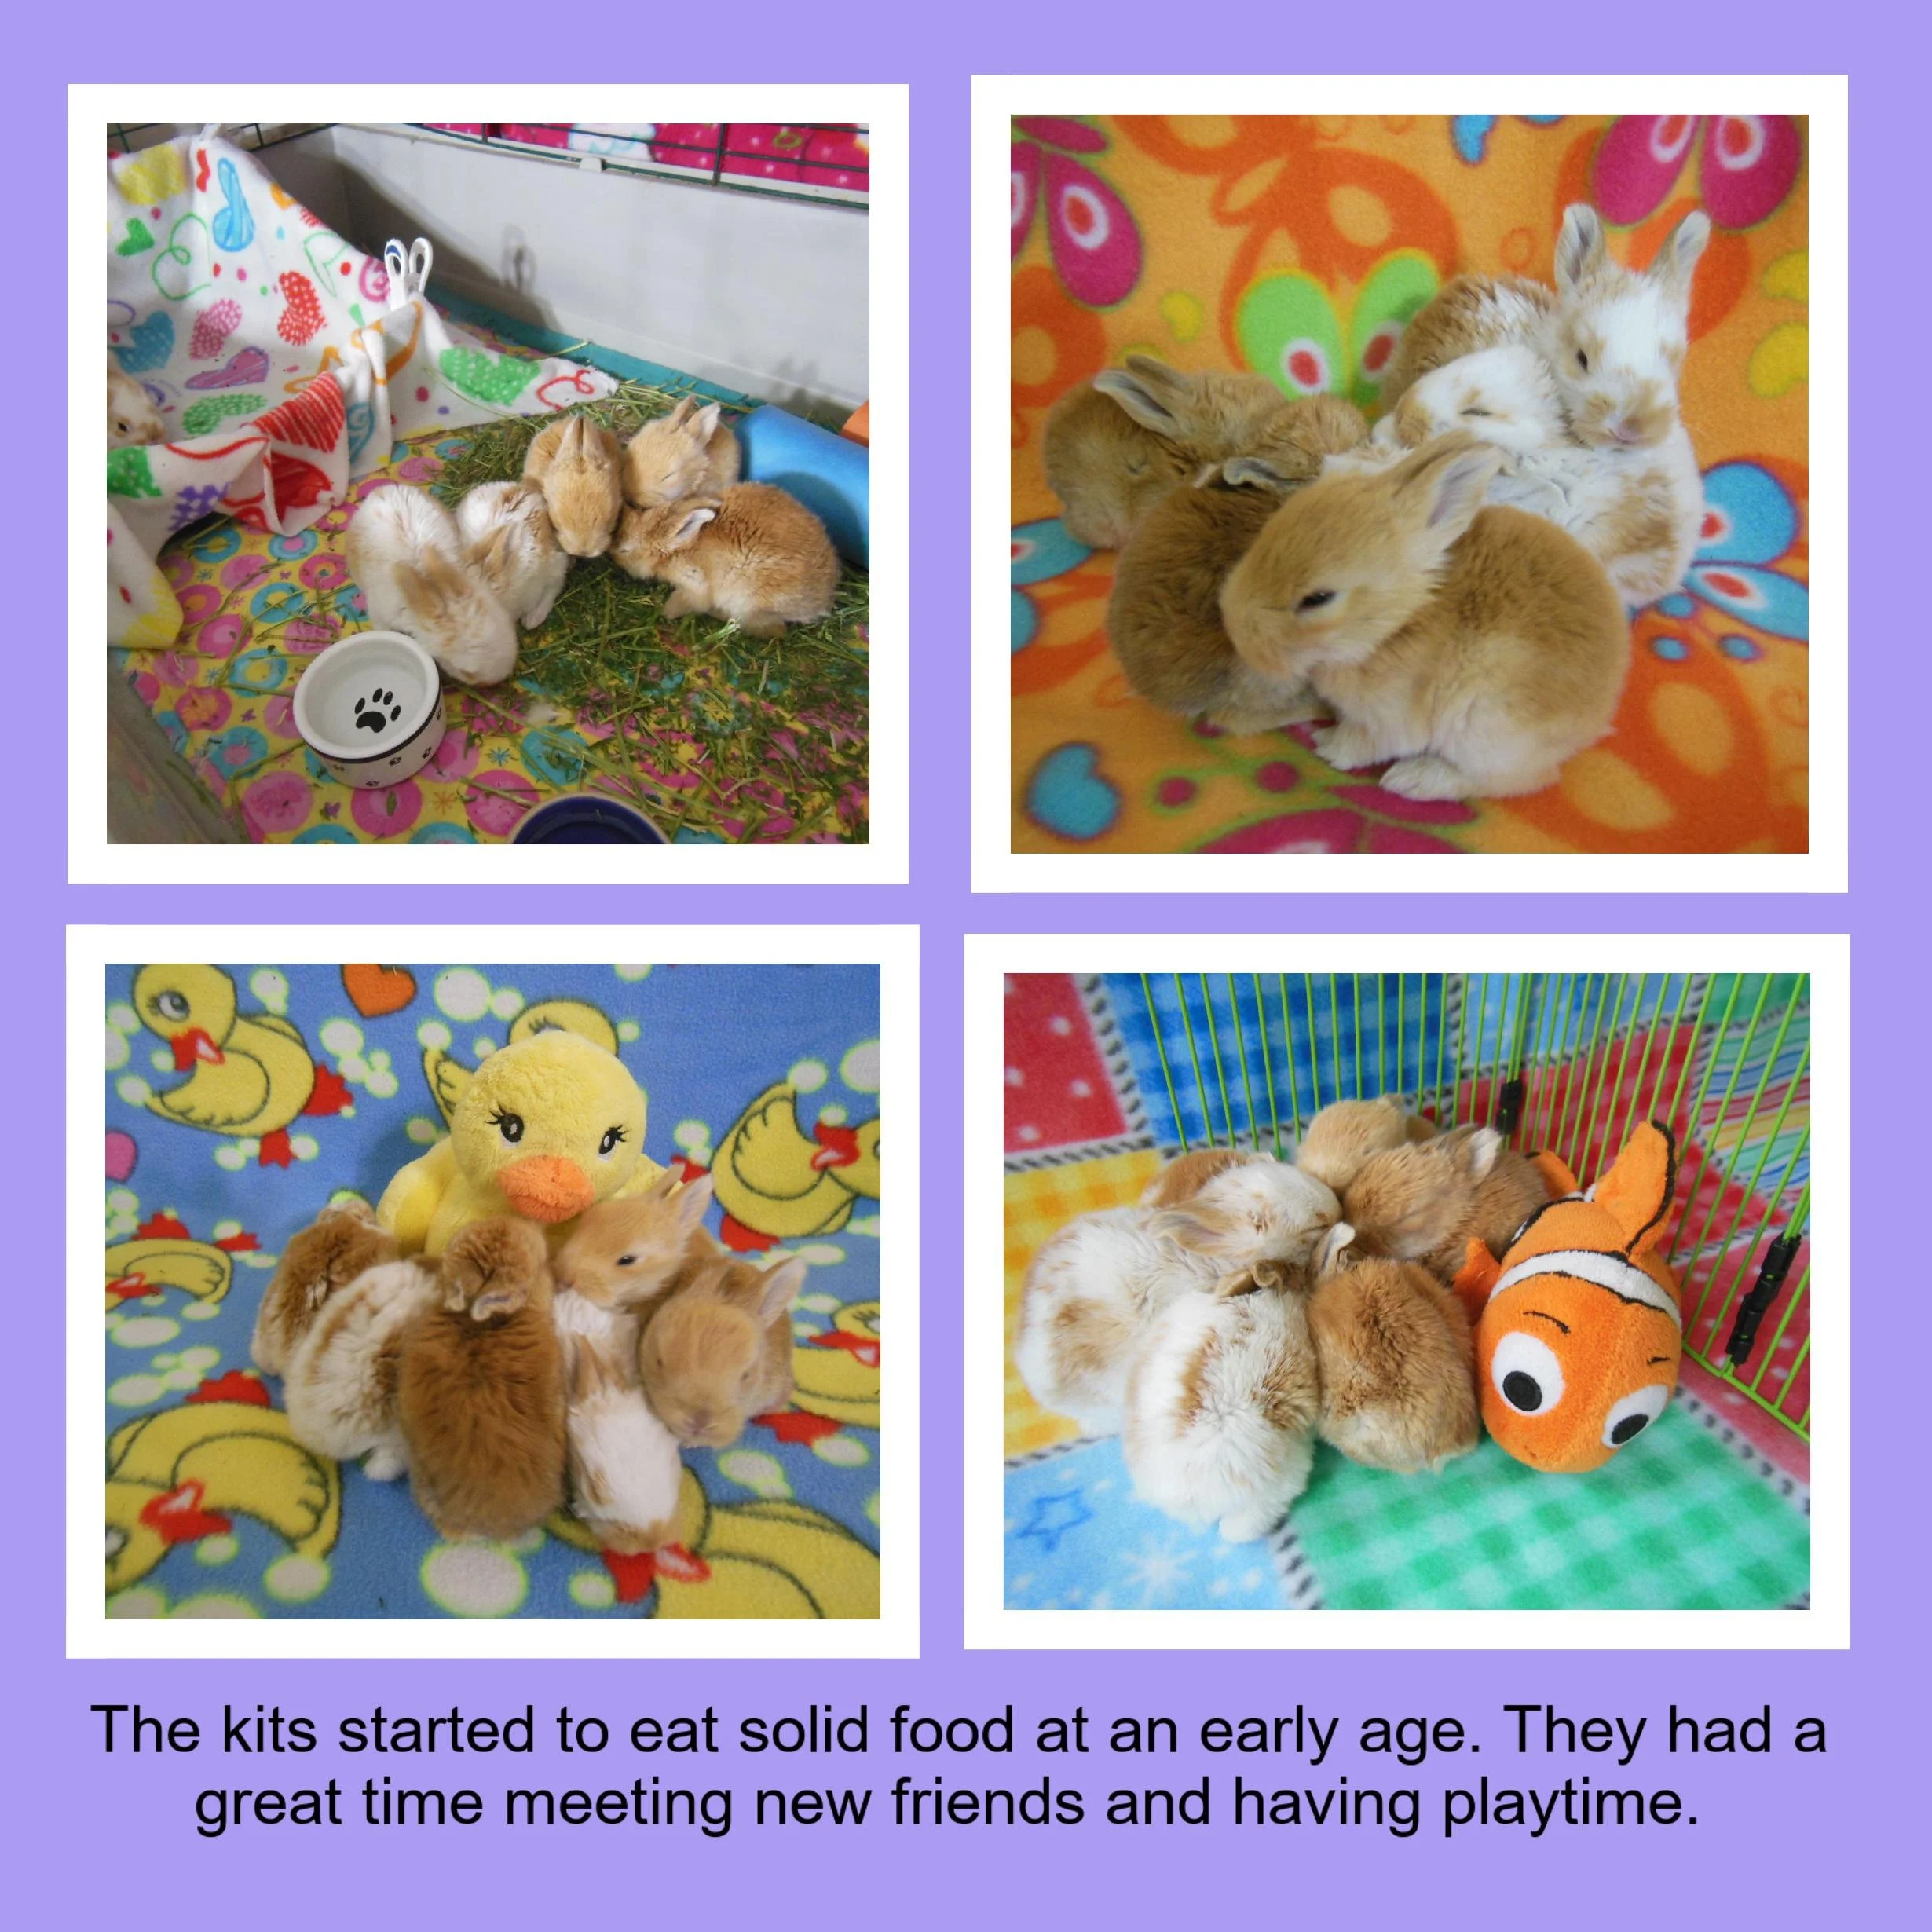
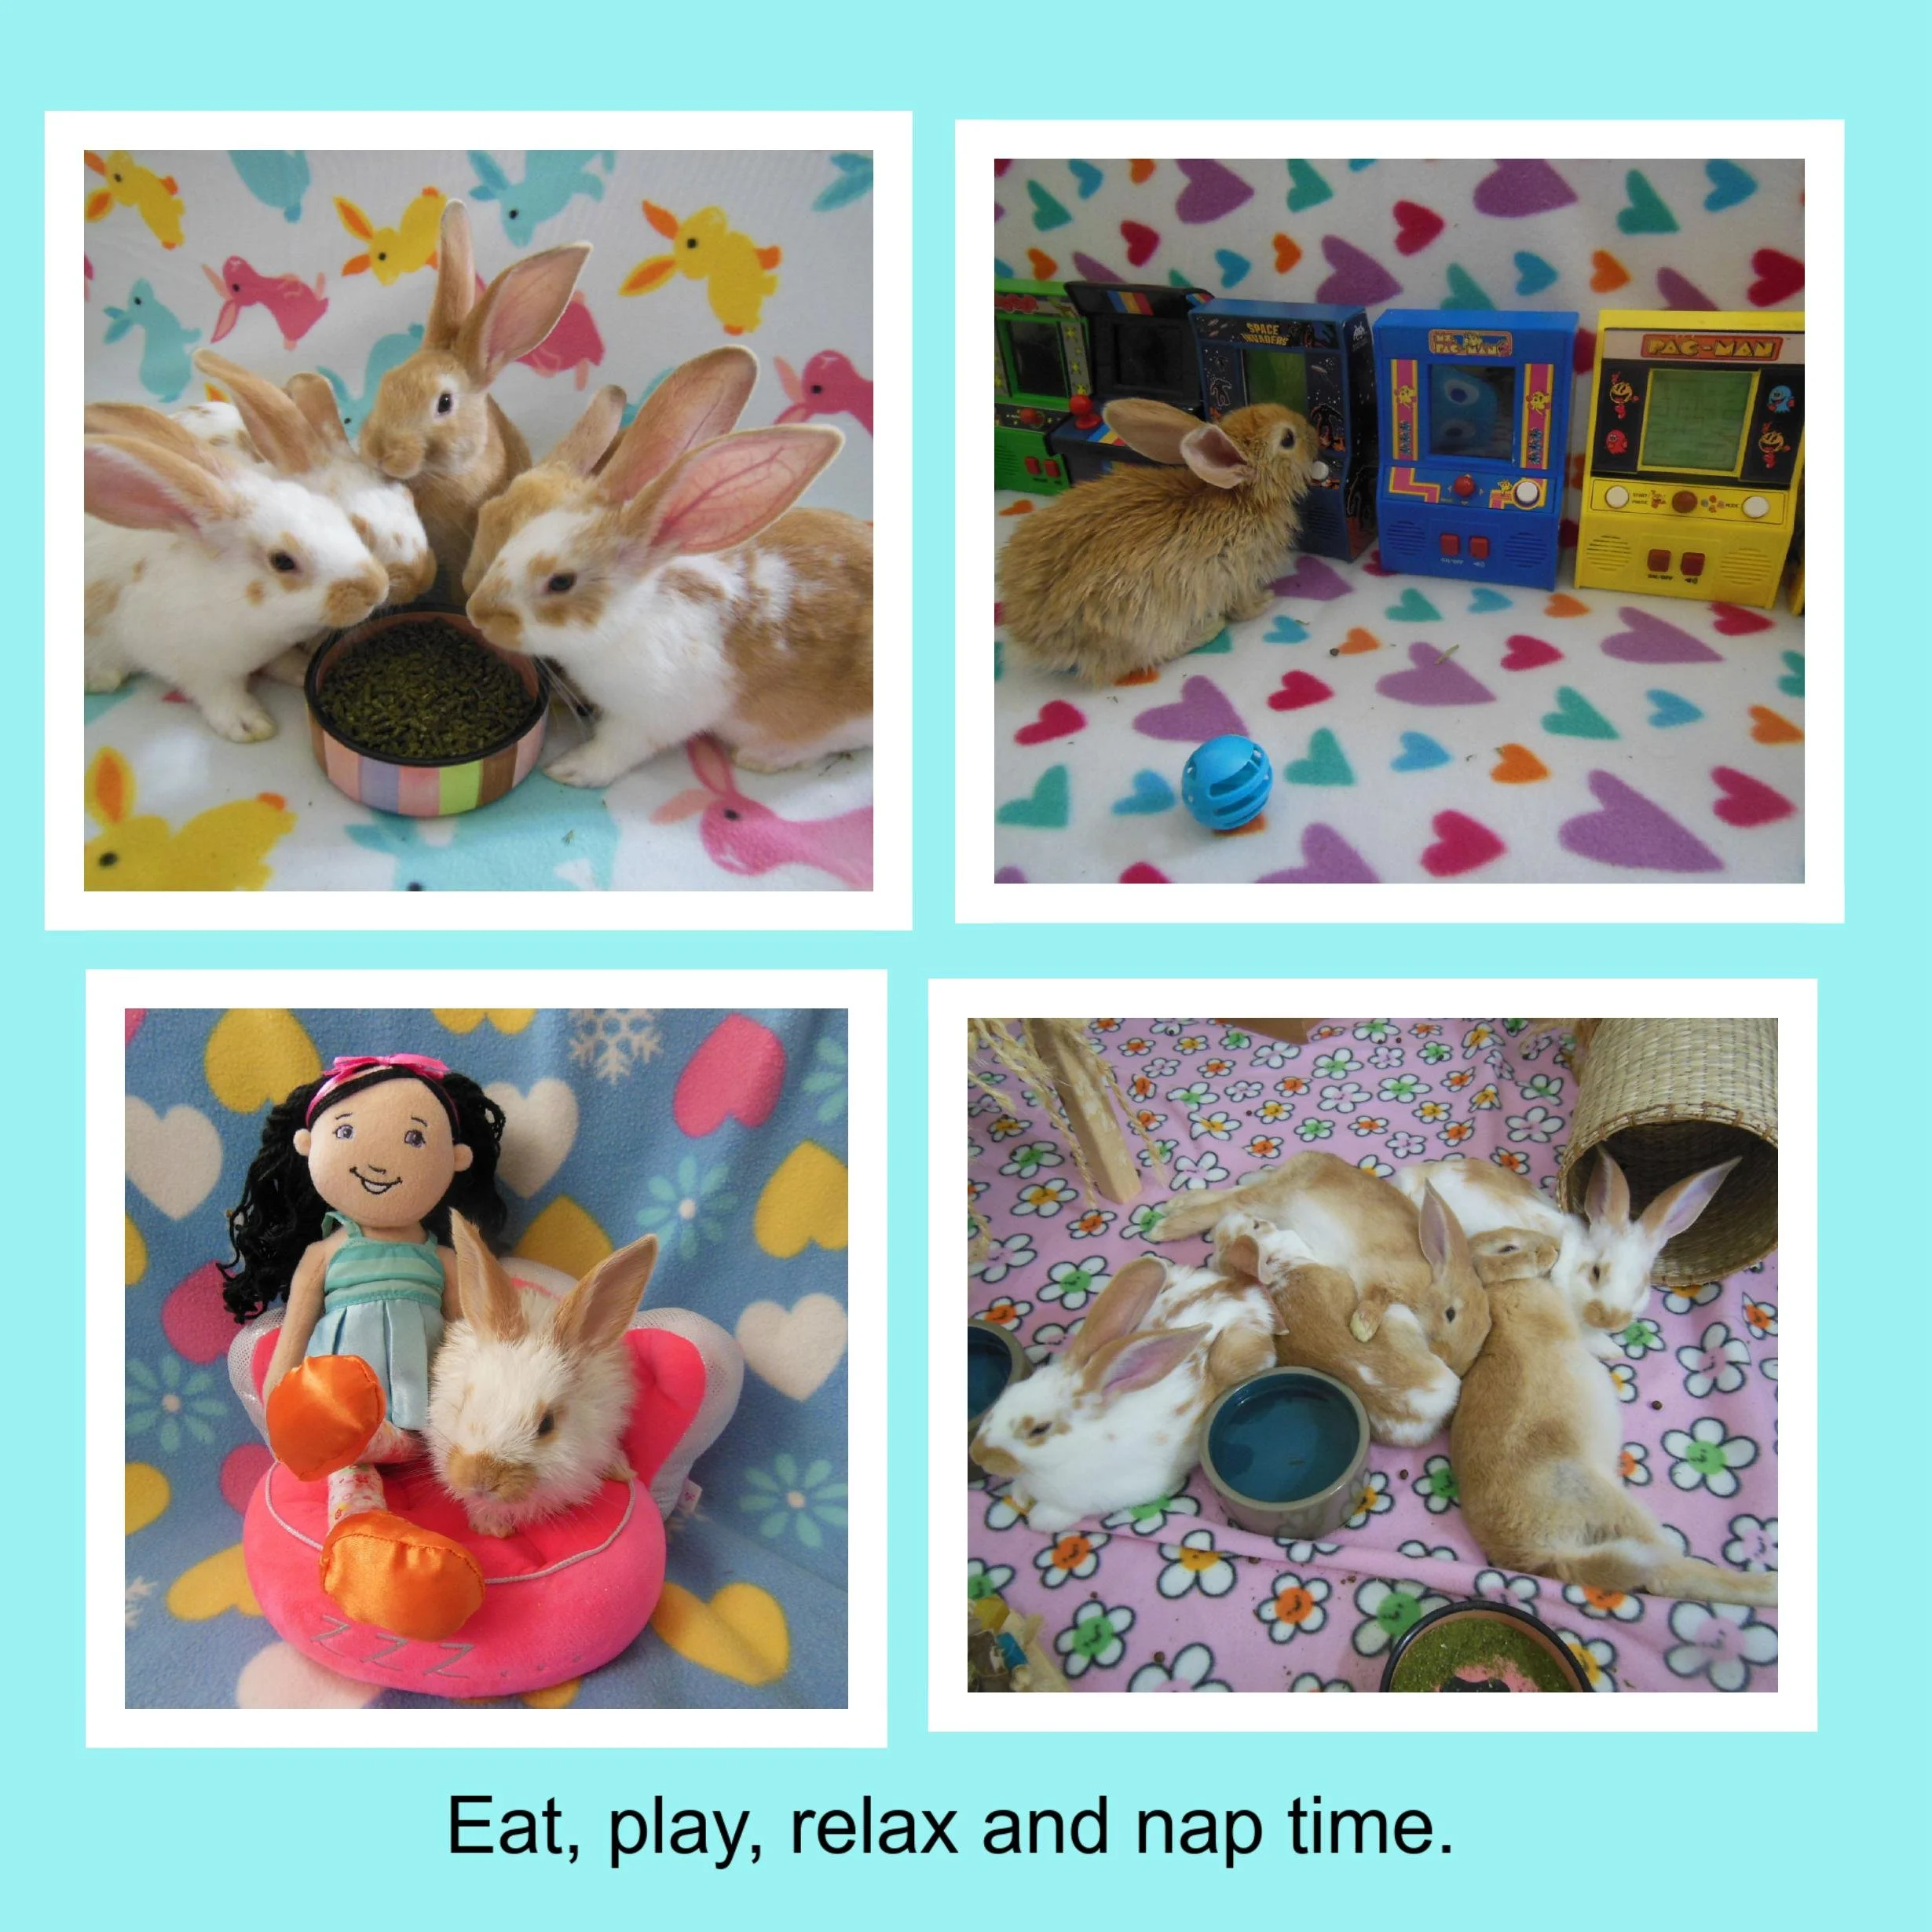
It is important for the kit to have daily playtime. House the kit in a baby x-pen or a standard x-pen with the sides covered. Kits up to about 6 weeks old can squeeze through standard x-pen bars, so barriers are necessary.
Do not offer any greens until the kit is about 8 weeks old. Young kits cannot properly digest greens, which may cause soft stool or digestive upset.
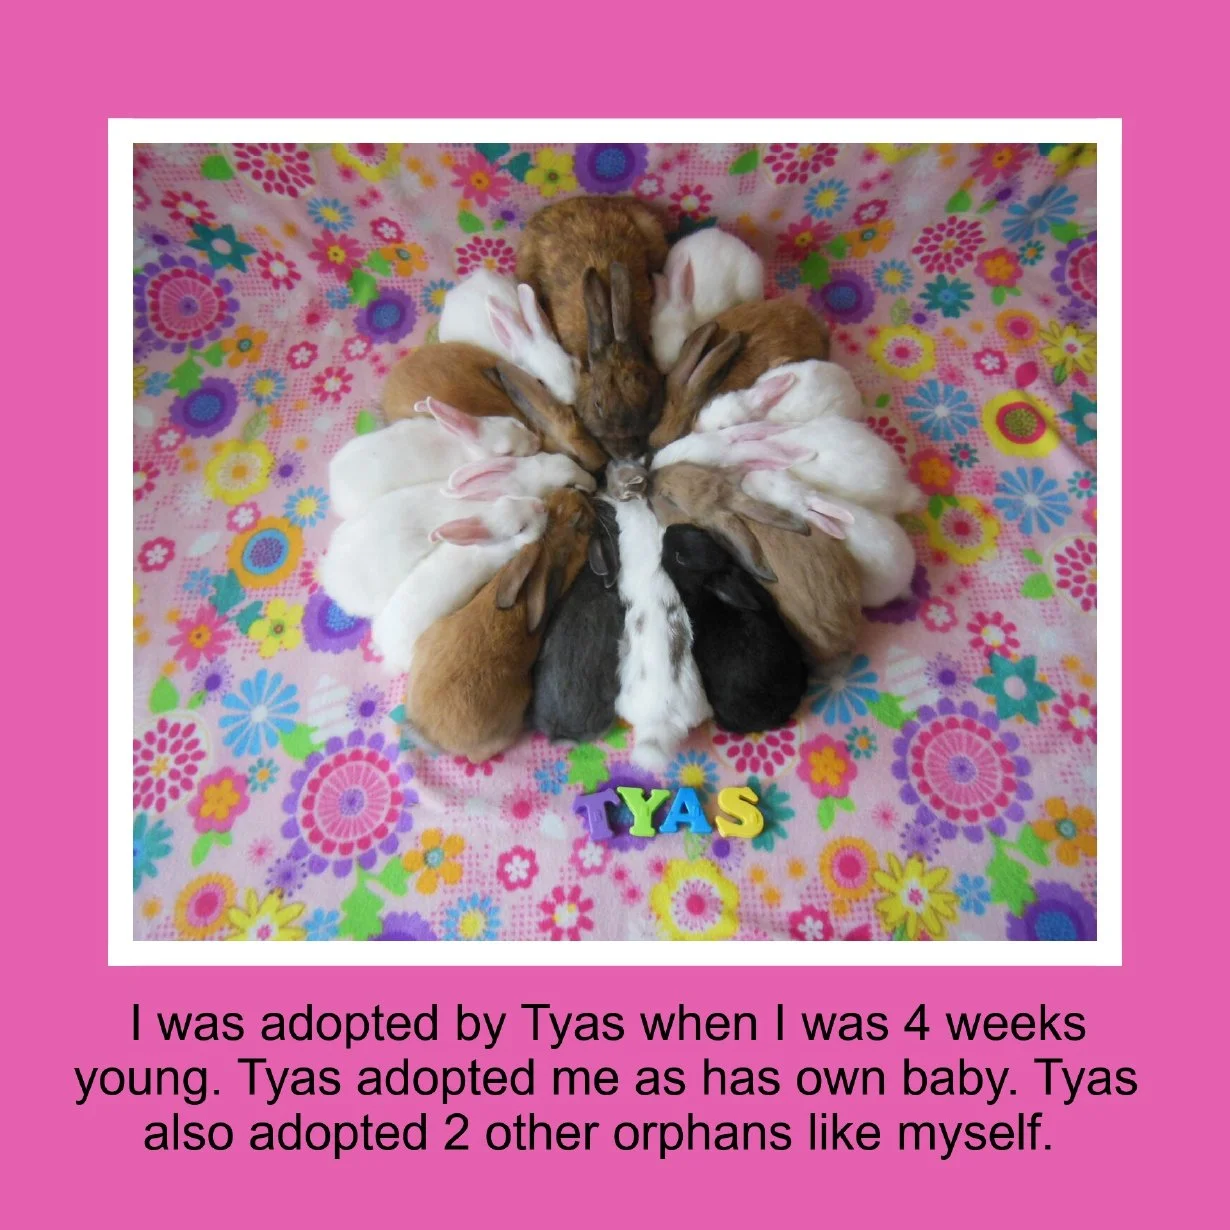
We worked with a member of the community who rescued a 2.5 old kit. The kit was placed in a nesting box, heating pad and a secure housing. We provided the one-on-one kit feeding and deliver system. We taught her how to mix the items and to use a syringe to deliver the Wombaroo Rabbit Milk Replace for the kits. She was able to adopt the kit as her own daughter.
Playtime
Importance: Allow time for exercise with safe toys and tunnels to encourage activity.
Monitoring: Keep an eye on the kit for any hopping issues or concerns.
Daily Home Checks
Weight: Monitor daily for healthy growth.
Diarrhea and Inactivity: Both require urgent attention
Here’s a quick, easy checklist:
Orphaned Rabbit Kit Care Checklist
☐ Place kit in a quiet, secure indoor area
☐ Use a heating pad on LOW, on 24/7 (kit must be able to move off heat)
☐ Provide a low-profile litter box
☐ Provide a small water bowl
☐ Add a stuffed rabbit or plush toy for comfort (“bunny friend”)
Food & Feeding
☐ Offer alfalfa hay (small flakes)
☐ Provide baby rabbit pellets
☐ Feed Wombaroo Rabbit Milk Replacer
☐ Use 10 ml syringe / Miracle Nipple or similar
☐ Expect ~10% body weight gain per day once eating
Care & Housing
☐ No stimulation needed with cotton ball at this age
☐ Allow daily playtime
☐ Use a baby x-pen or covered standard x-pen
☐ Remember: kits under 6 weeks can slip through x-pen bars
Important Notes
☐ No greens until 8 weeks old
☐ Greens too early may cause soft stool / digestive upset


Part 3: Older Kits
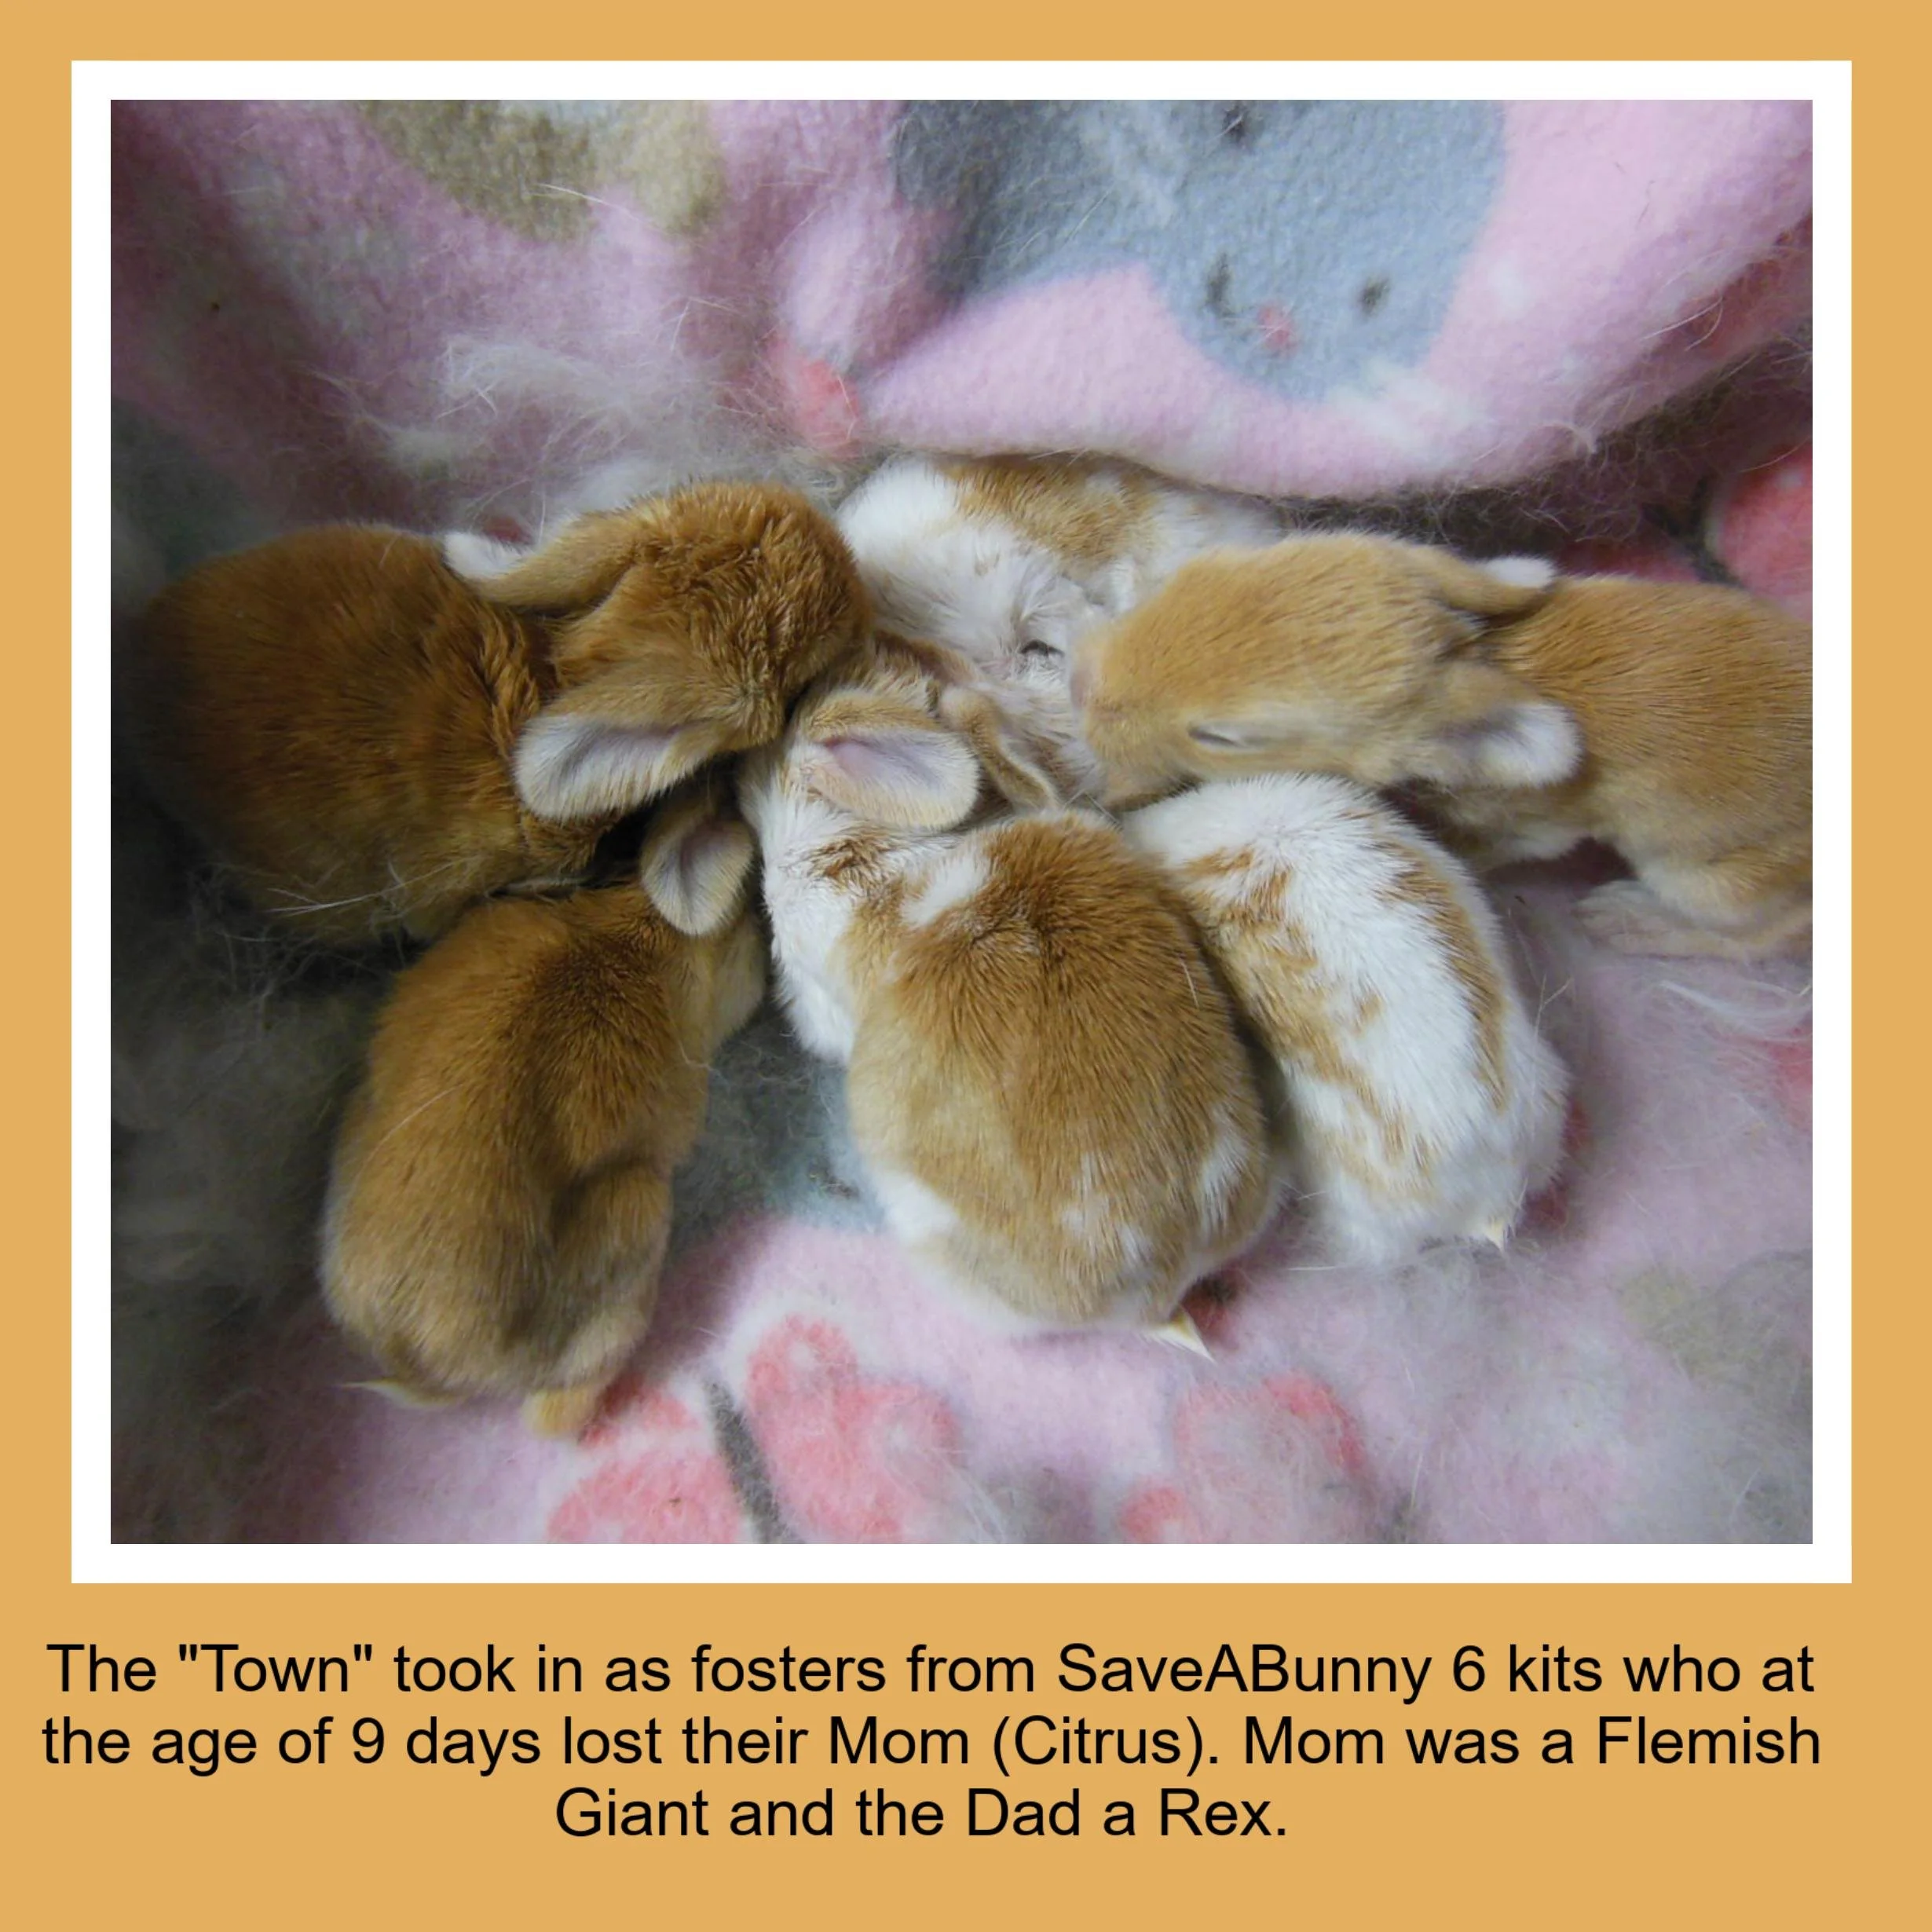
We fostered Flemish Giant Orphans who were 9 days young. Sadly their Mom passed away at Day 7. We will show videos from Tube Feeding m Syringe Feeding and dish feeding of these orphans. The video's show the text in this section
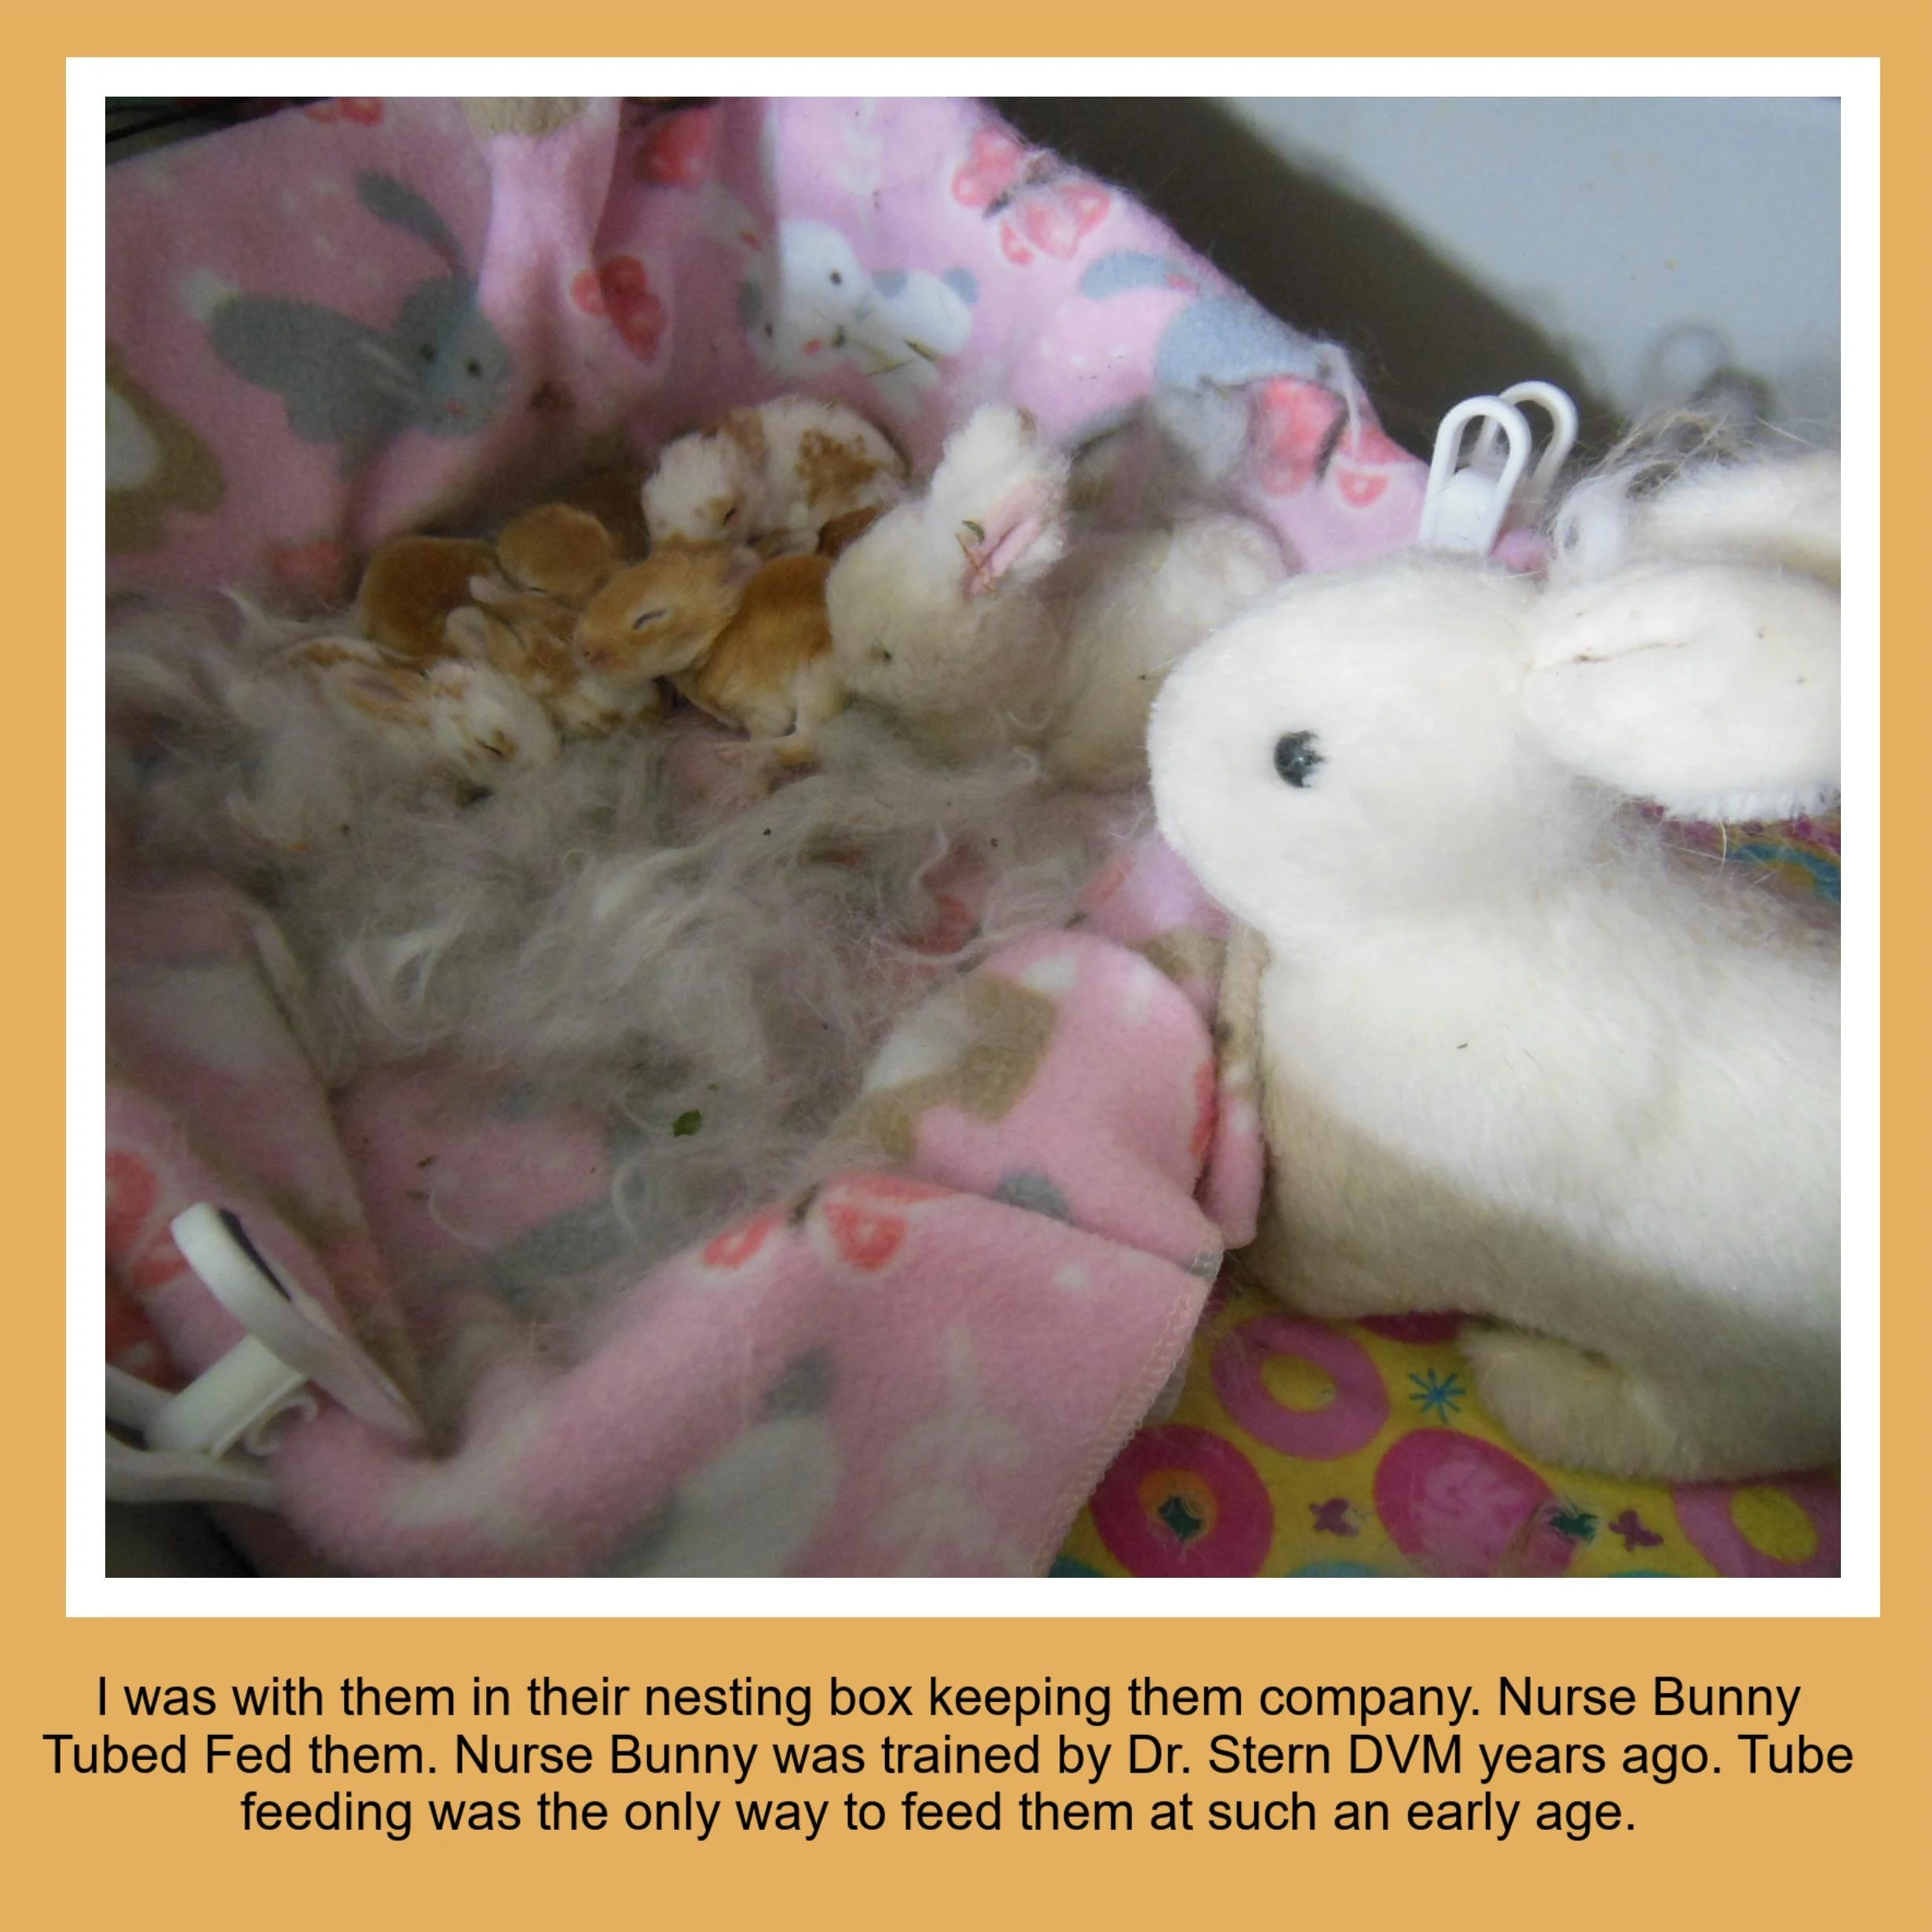
Flemish Giant Orphans. We placed them in the nesting box with fur from our rabbits to keep them warm.
Tube Feeding (we were trained by a DVM). They were too young syringe feeding or similar.
Baby Hops for Flemish Giants. It is good to have them play before you feed them.
We use Alfalfa Hay flakes to help them eat solid food.
syringe feeding holding kit upright with a holding blanket.
feeding from a shallow dish.You do need to clean them up afterwards.
feeding from a dish and a syringe.